
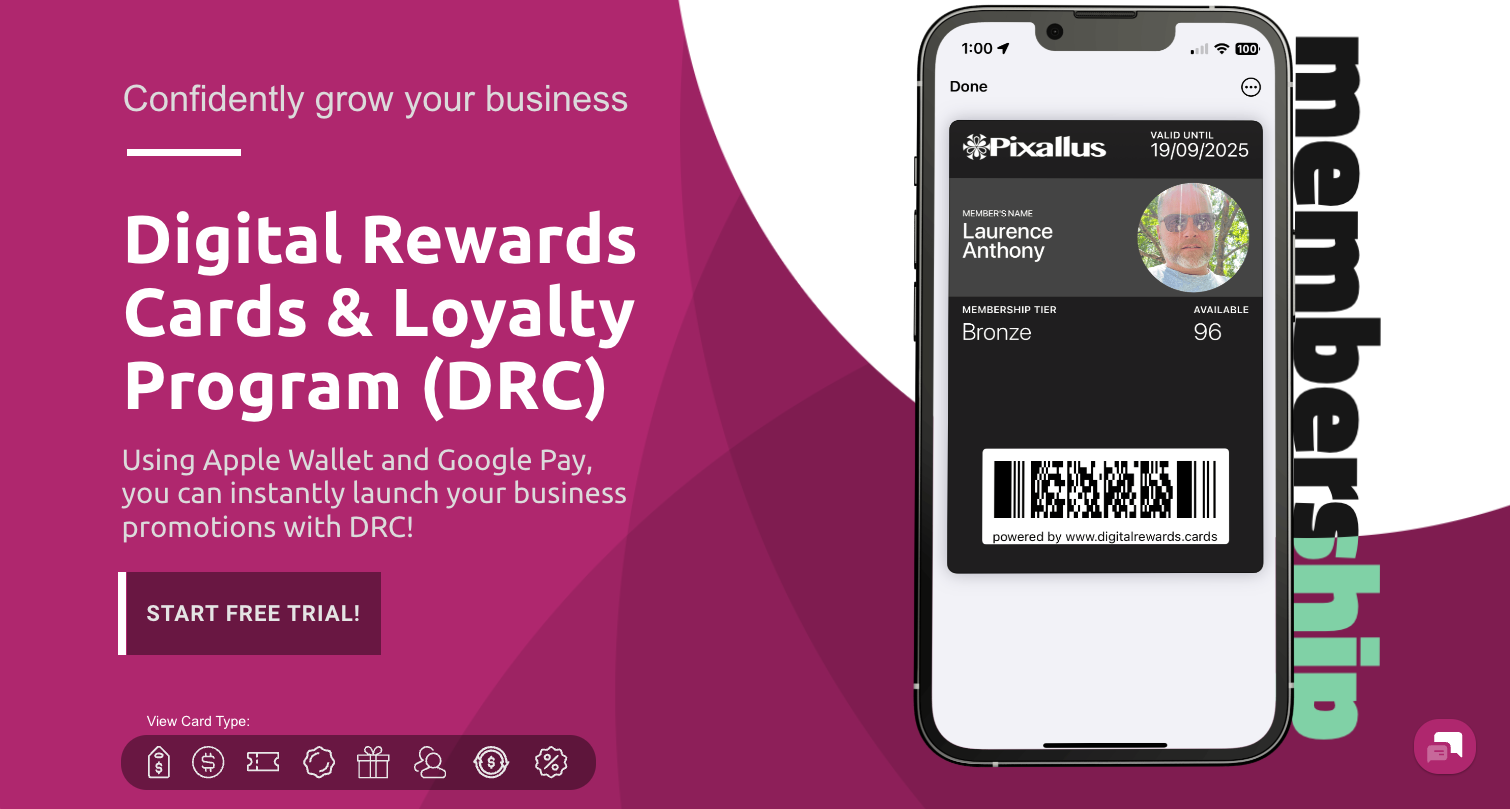
In this video, you’ll learn how to create prepaid membership cards using Digital Rewards Cards (DRC). #
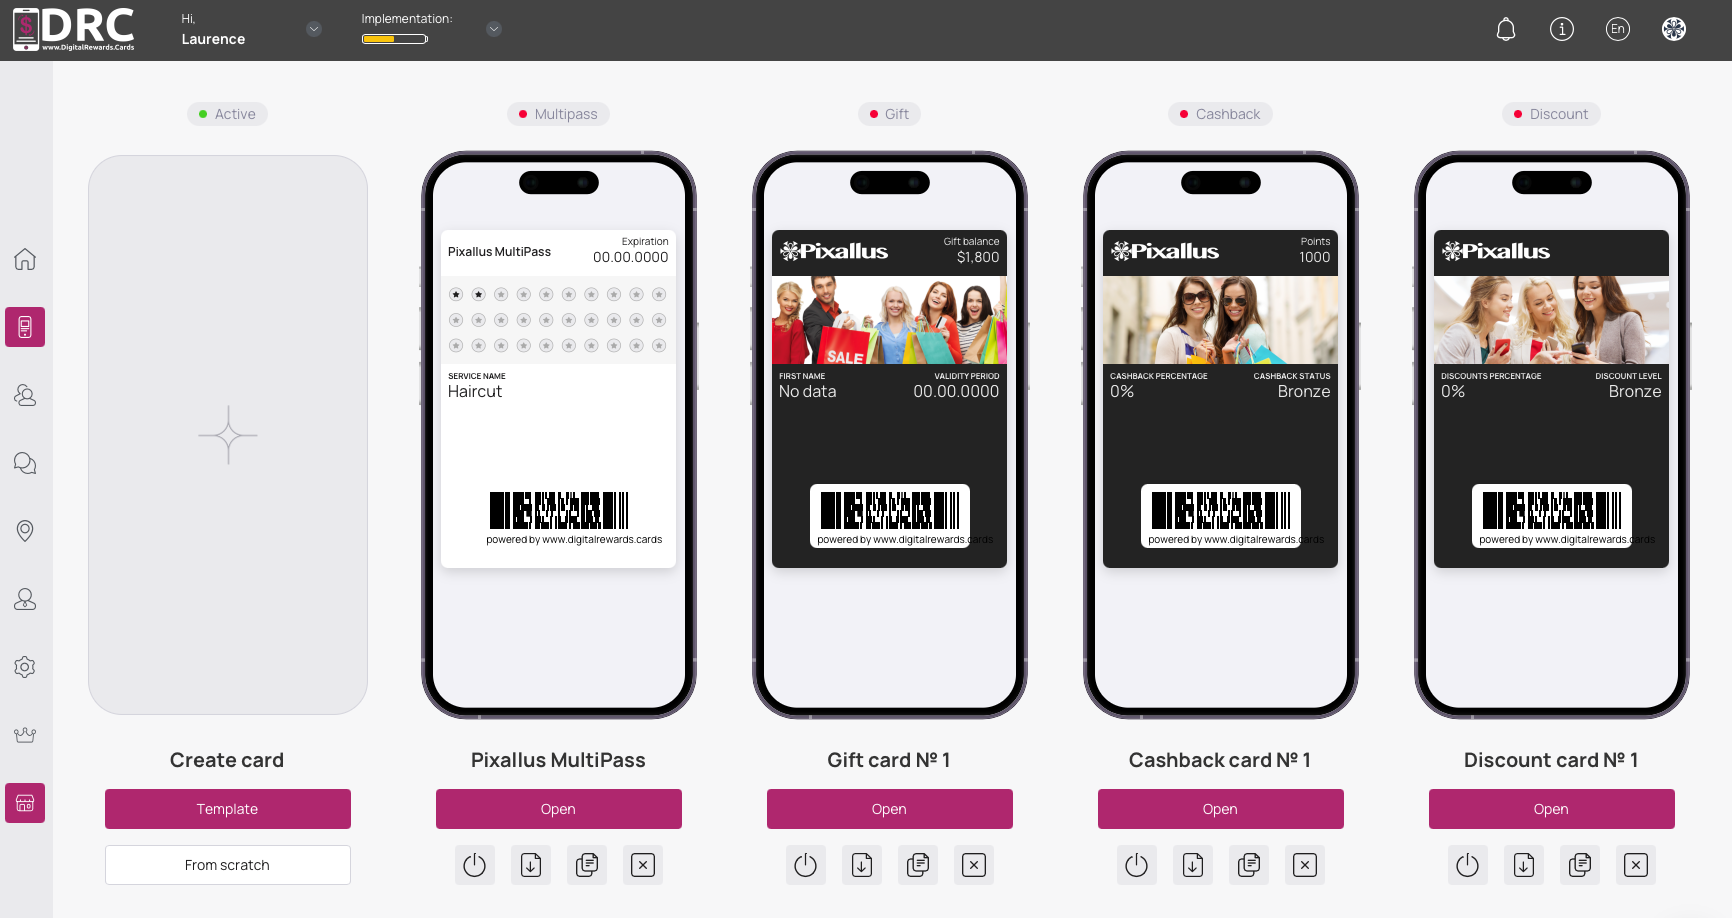
Once logged into your DRC dashboard and on the Cards screen, you can choose from the predesigned templates or start from scratch. #
We’ll start from scratch.
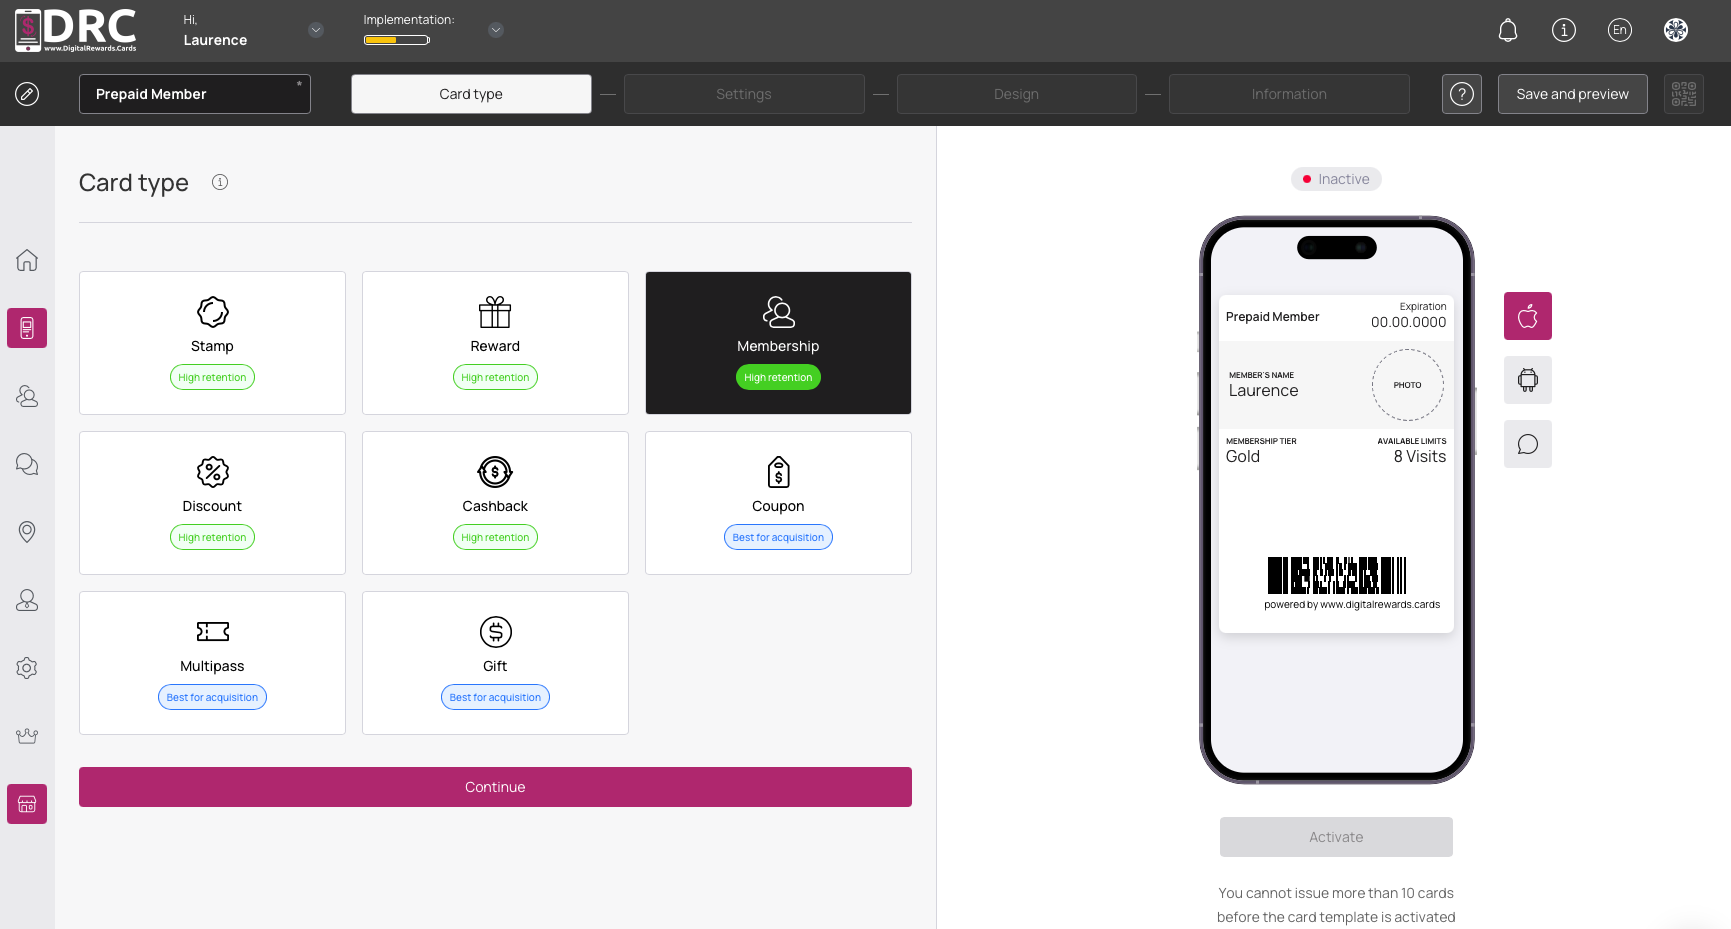
First, you’ll want to name your card. In this case, we’ll name it Prepaid Member. #
Now choose the Membership Card type. #
Then click the Continue button. #
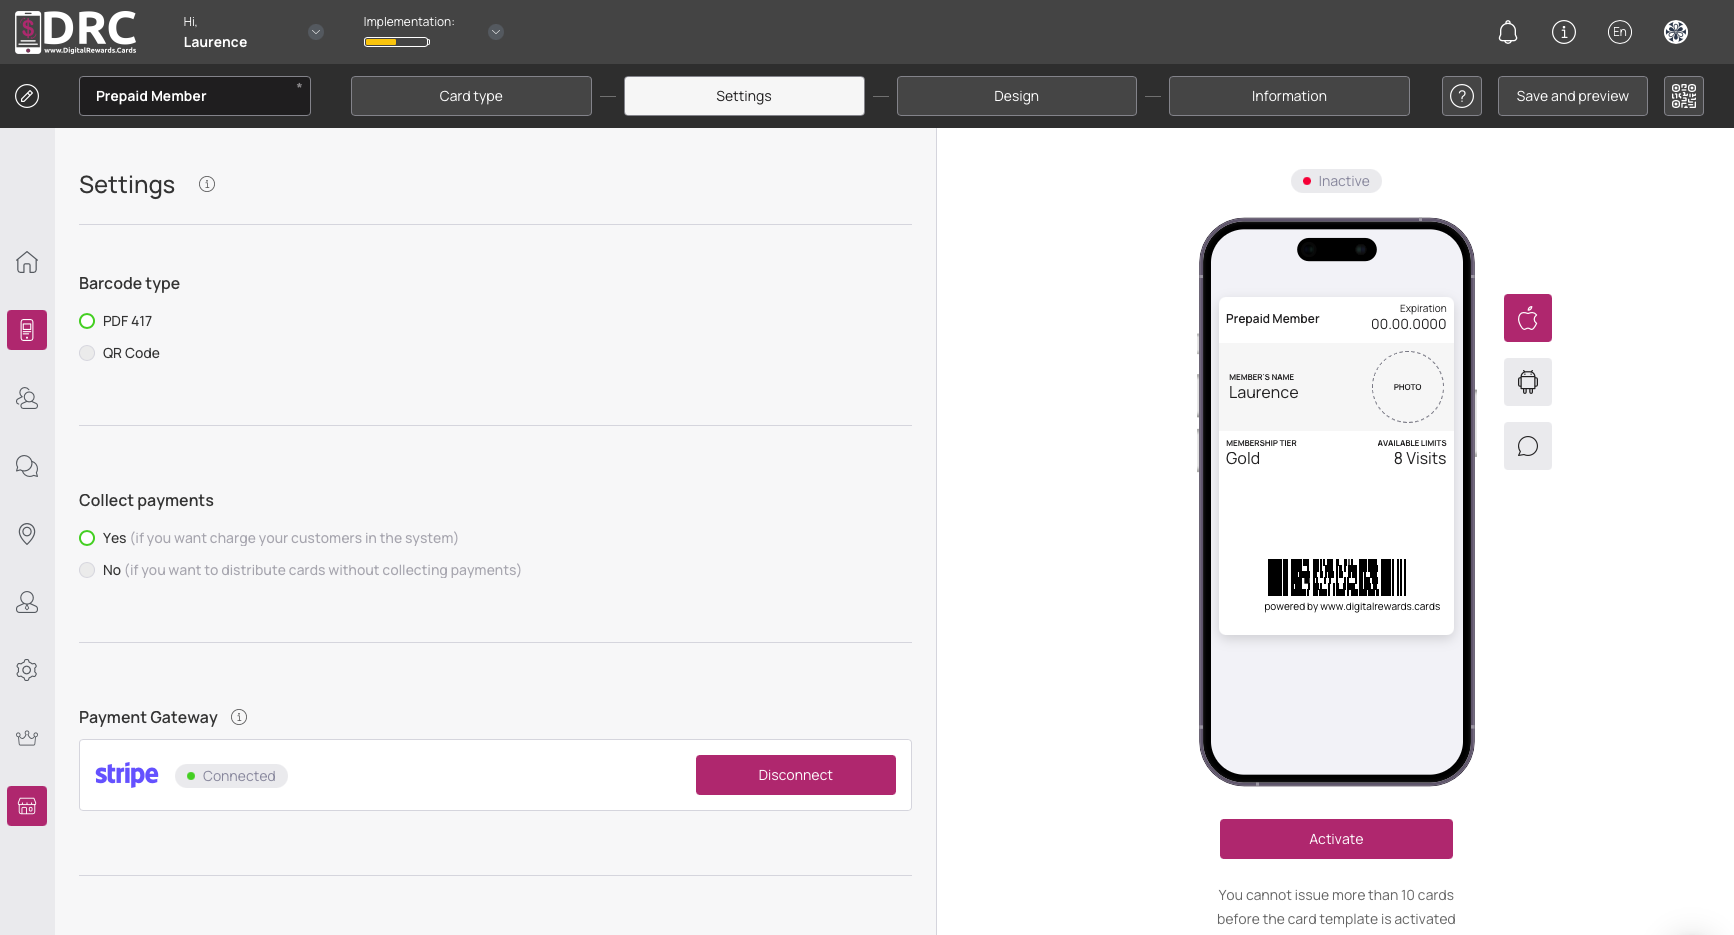
Now you’re on the Settings screen. #
You can choose between Barcode & QR Code types for scanning. This strictly for preference. Both work well.
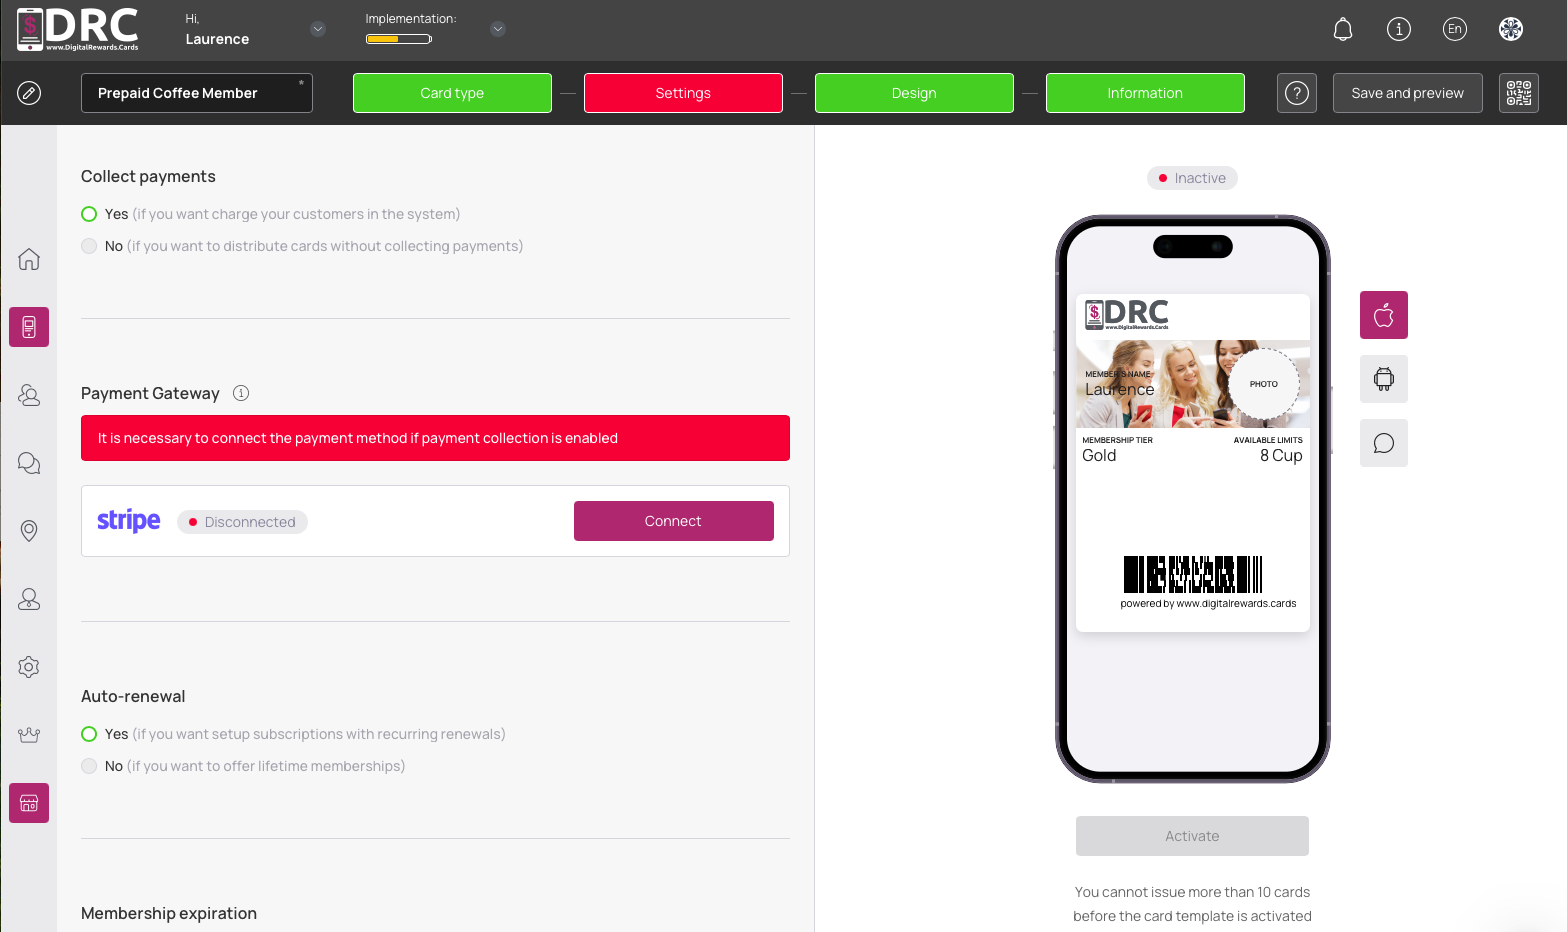
Now choose whether you want to collect payments for your membership card or not. #
If no payments, your membership does not require payments. We will choose Yes.
Now, you’ll connect to your Stripe account to collect payments. #
Click the connect button.
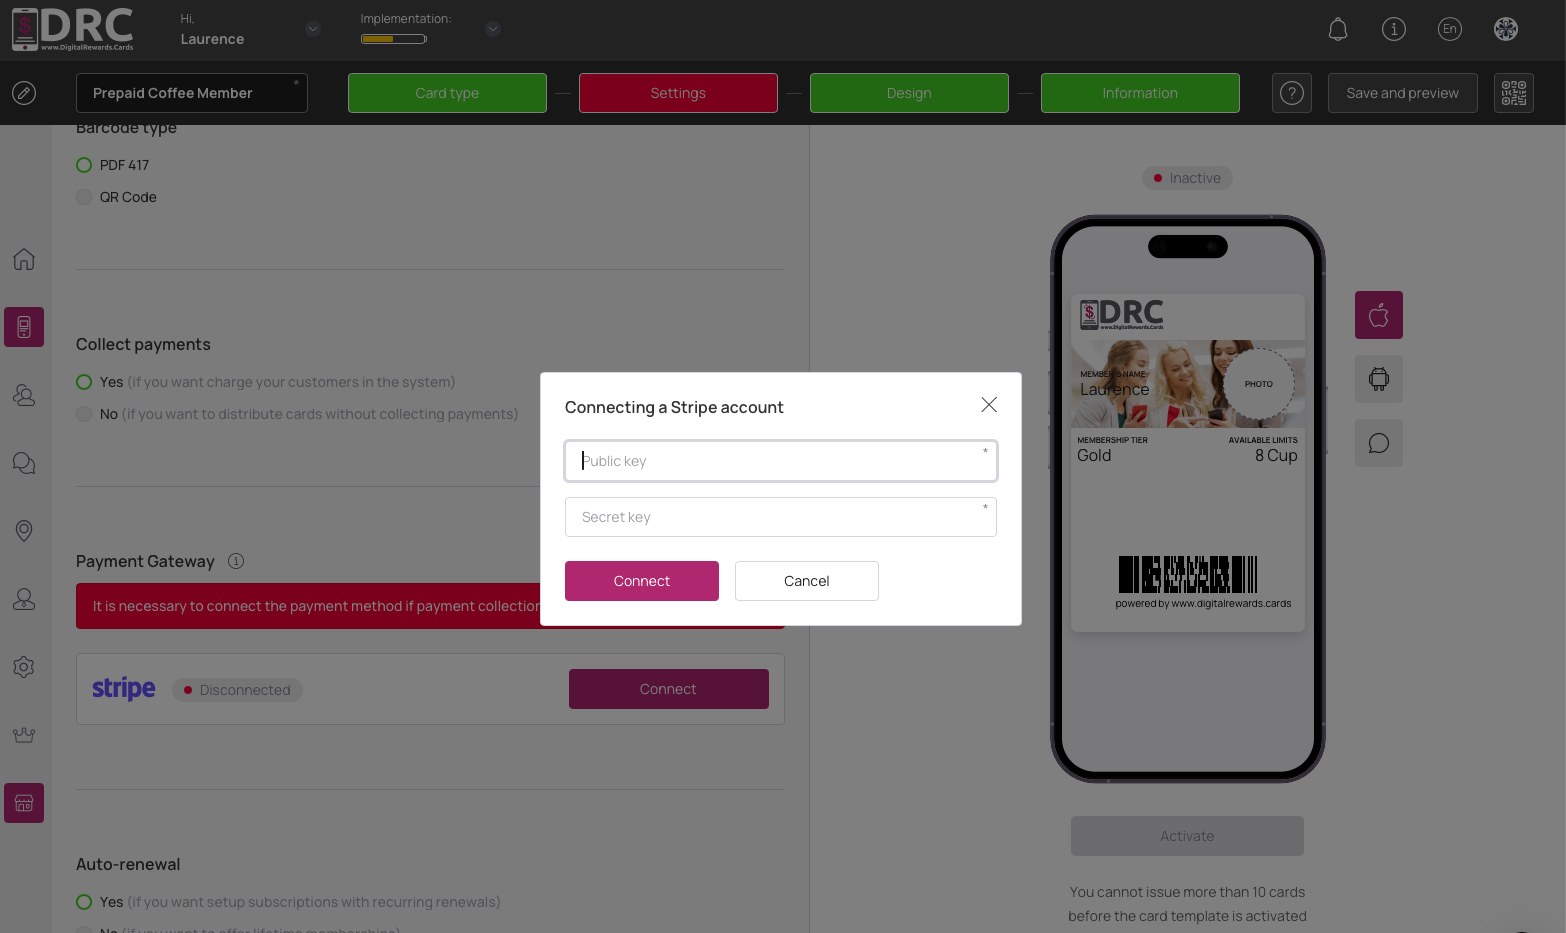
Enter your Public Key and Secret Key provided from your Stripe account and click the Connect button. #
You are now connected to Stripe and can receive payments for your membership card. #
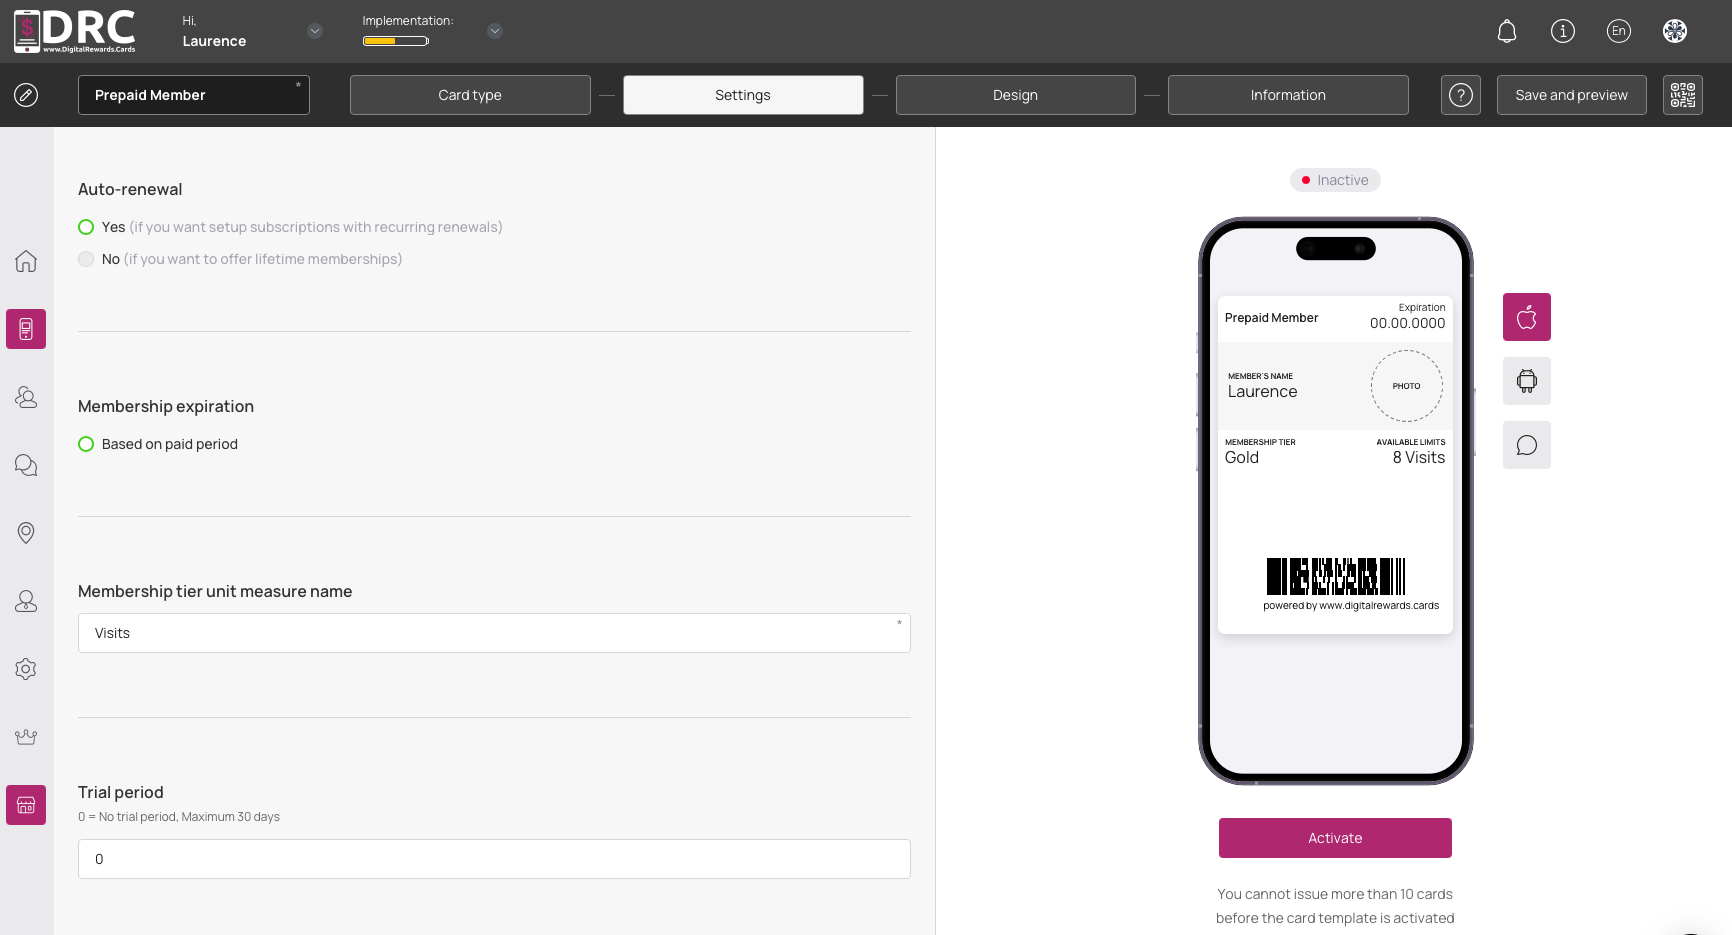
Choose whether to auto-renew or not. #
Yes will charge your customer on their chosen billing period. No will only charge them one time for your membership.
Since we’re using recurring billing for memberships, expiration will be determined by the billing periods you create in your member tiers. #
Now enter in your unit of measure for your membership. #
This is based on the service or reward that is included in the membership.
For example, a barber could use “cuts”. #
A coffee shop could use “cups”. A bar could use “pours”. It’s up to you to decide what’s best for your membership.
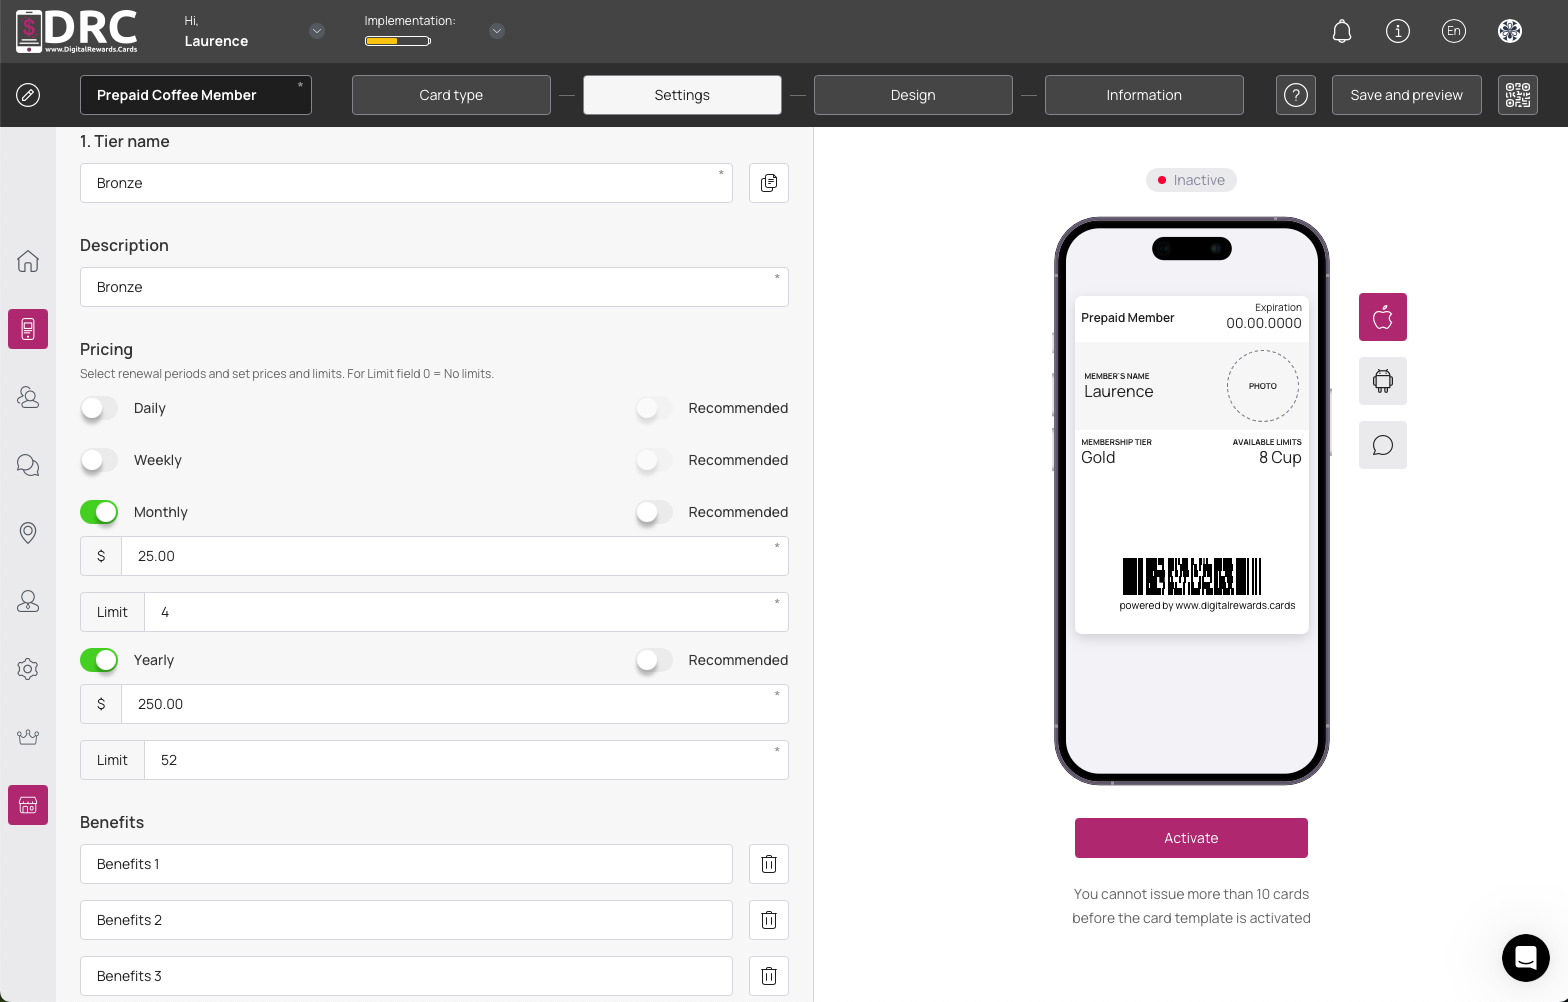
Now it’s time to create your membership tiers and billing schedule. #
First, give your membership tier a name and short description. #
Here, we use Bronze as our lowest tier.
Now, you’ll want to enable which billing periods are available for the customer to choose from. Here, we chose monthly and yearly billing. #
For the monthly bronze membership, we’re giving 4 cups of coffee for $25 per month and 52 cups of coffee for $250 per year. Saving the customer $50 per year. #
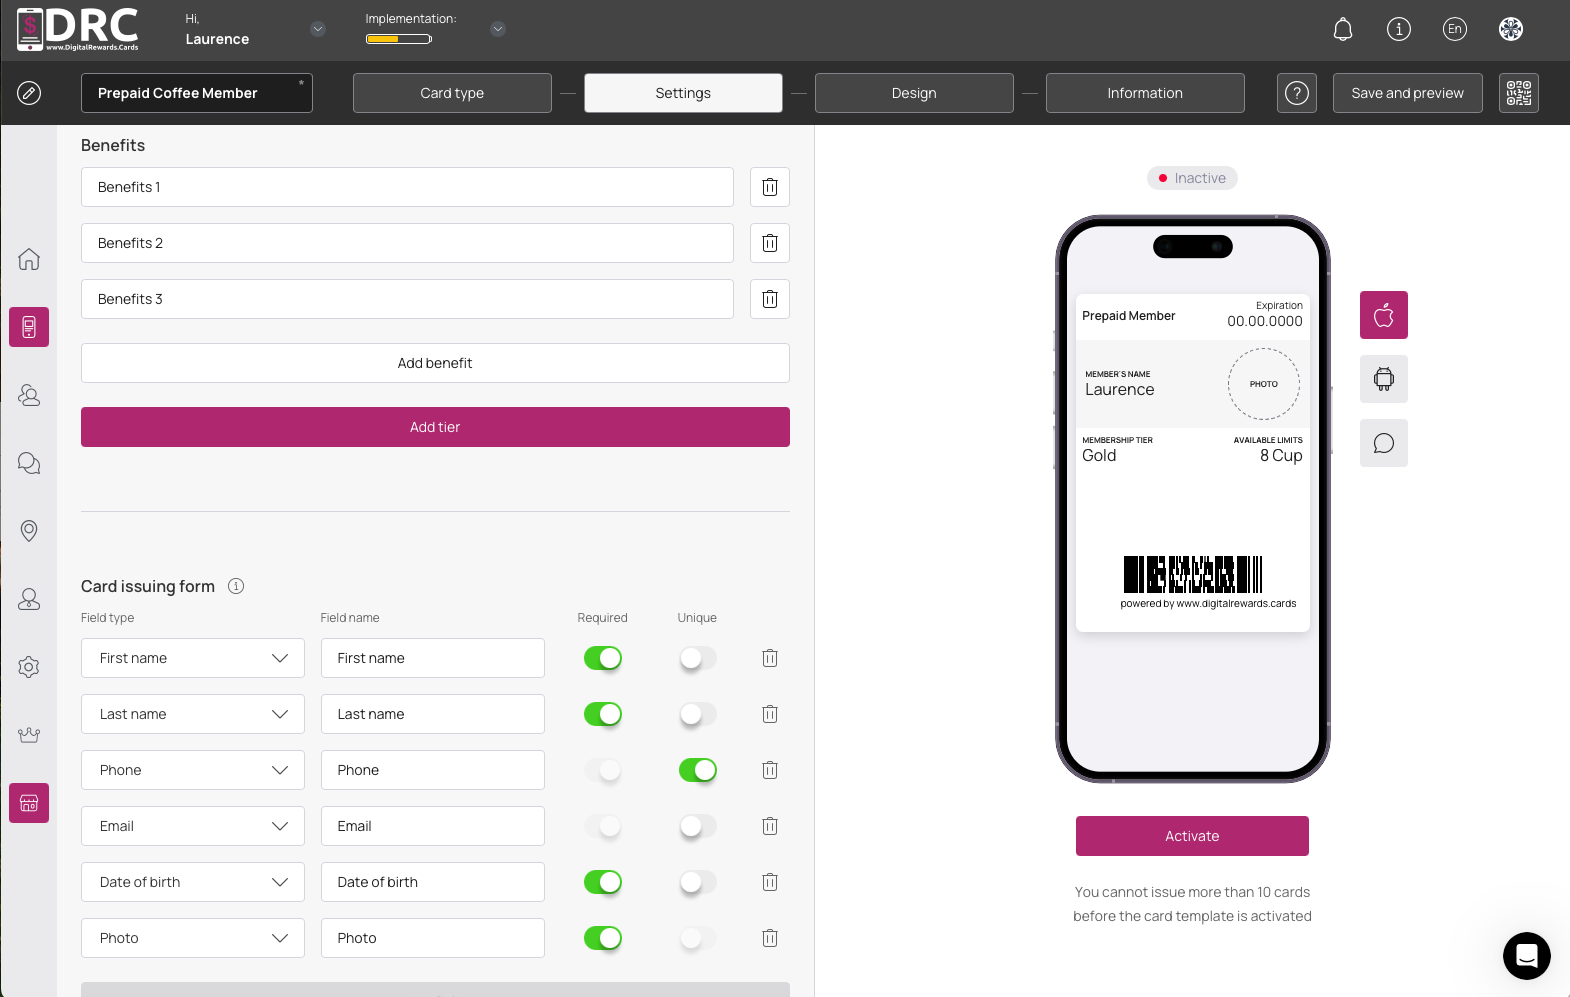
Now you can list the benefits of the bronze plan by clicking the Add Benefit button. #
Now if you want to add more tiers, like Silver and Gold tiers, click the Tiers button and configure the tier as you did for the bronze membership. #
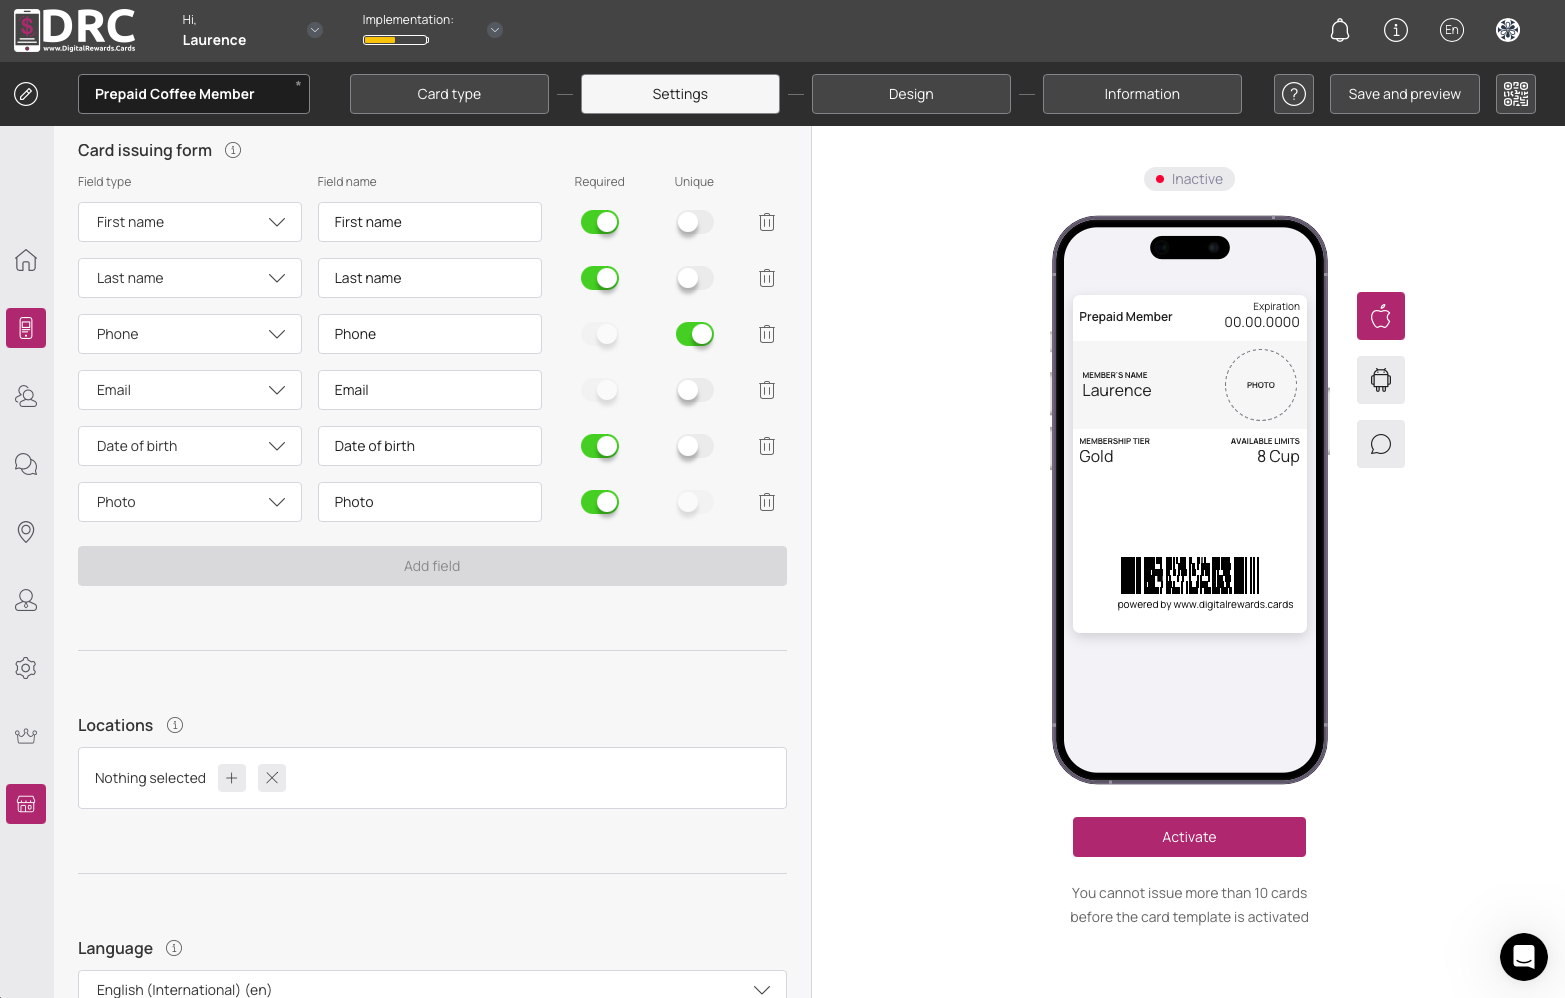
Now that your tiers and billing periods are created, you can setup the card issuing form. #
We recommend at a minimum to collect cell number and first name. #
But you can add any of the following fields to the signup form.
We also recommend to always set the cell phone field as unique. #
This ensures unique user per card and prevents abuse.
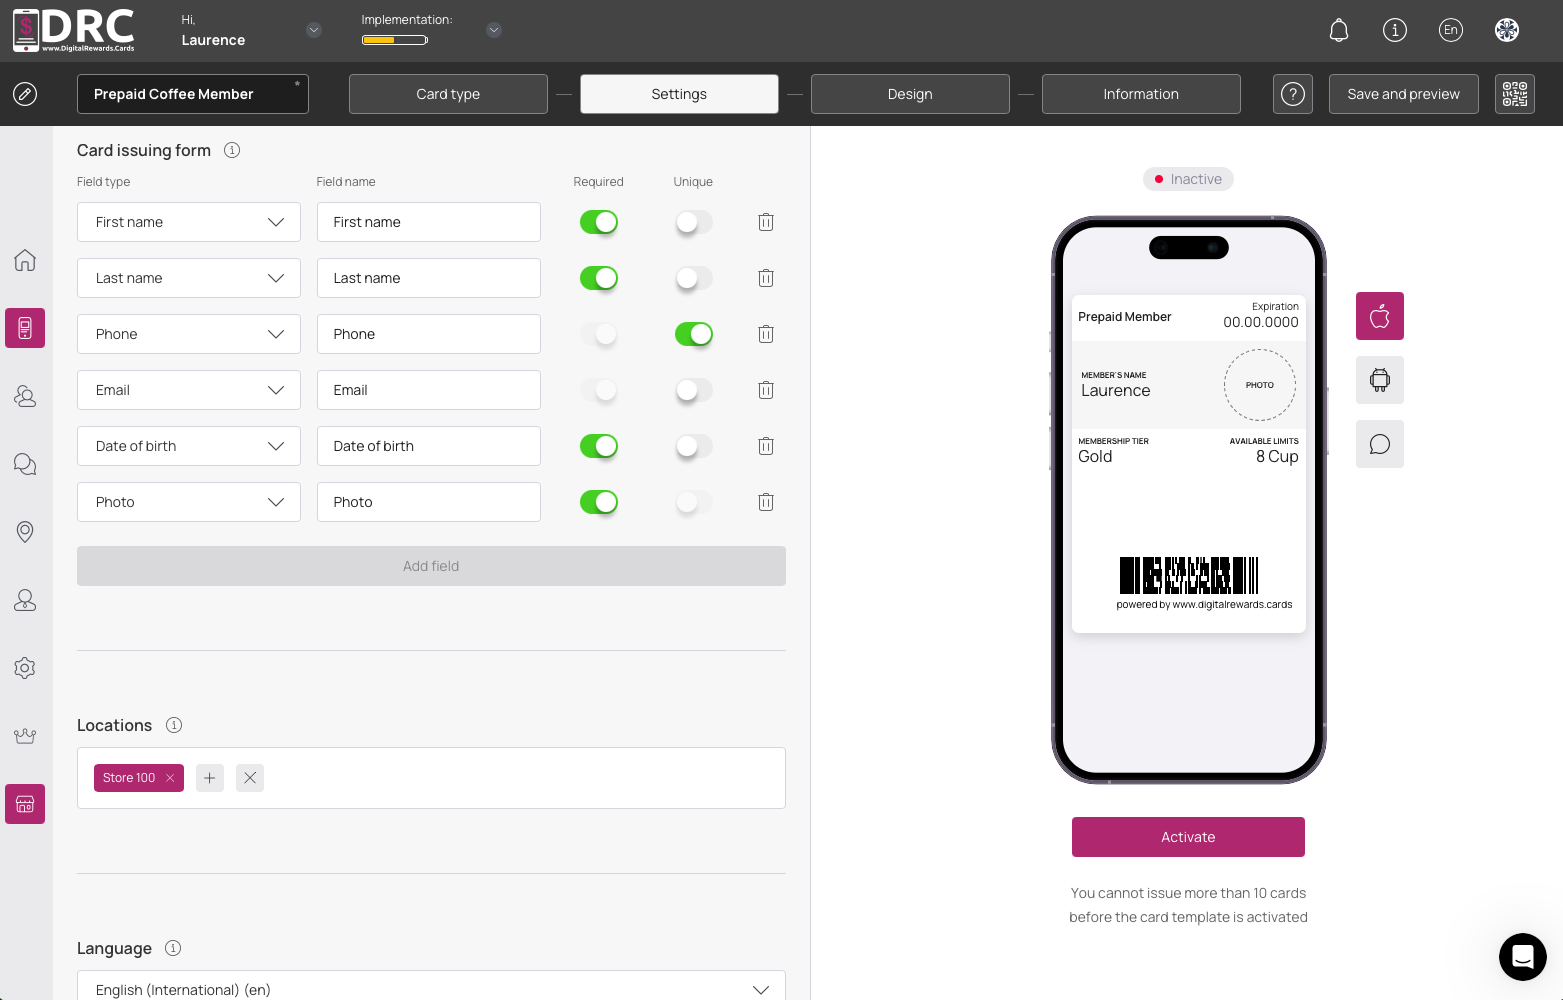
Now set the locations where the card may be used. #
This is useful for multi-location businesses. But locations are also used for Geo-Push notifications.
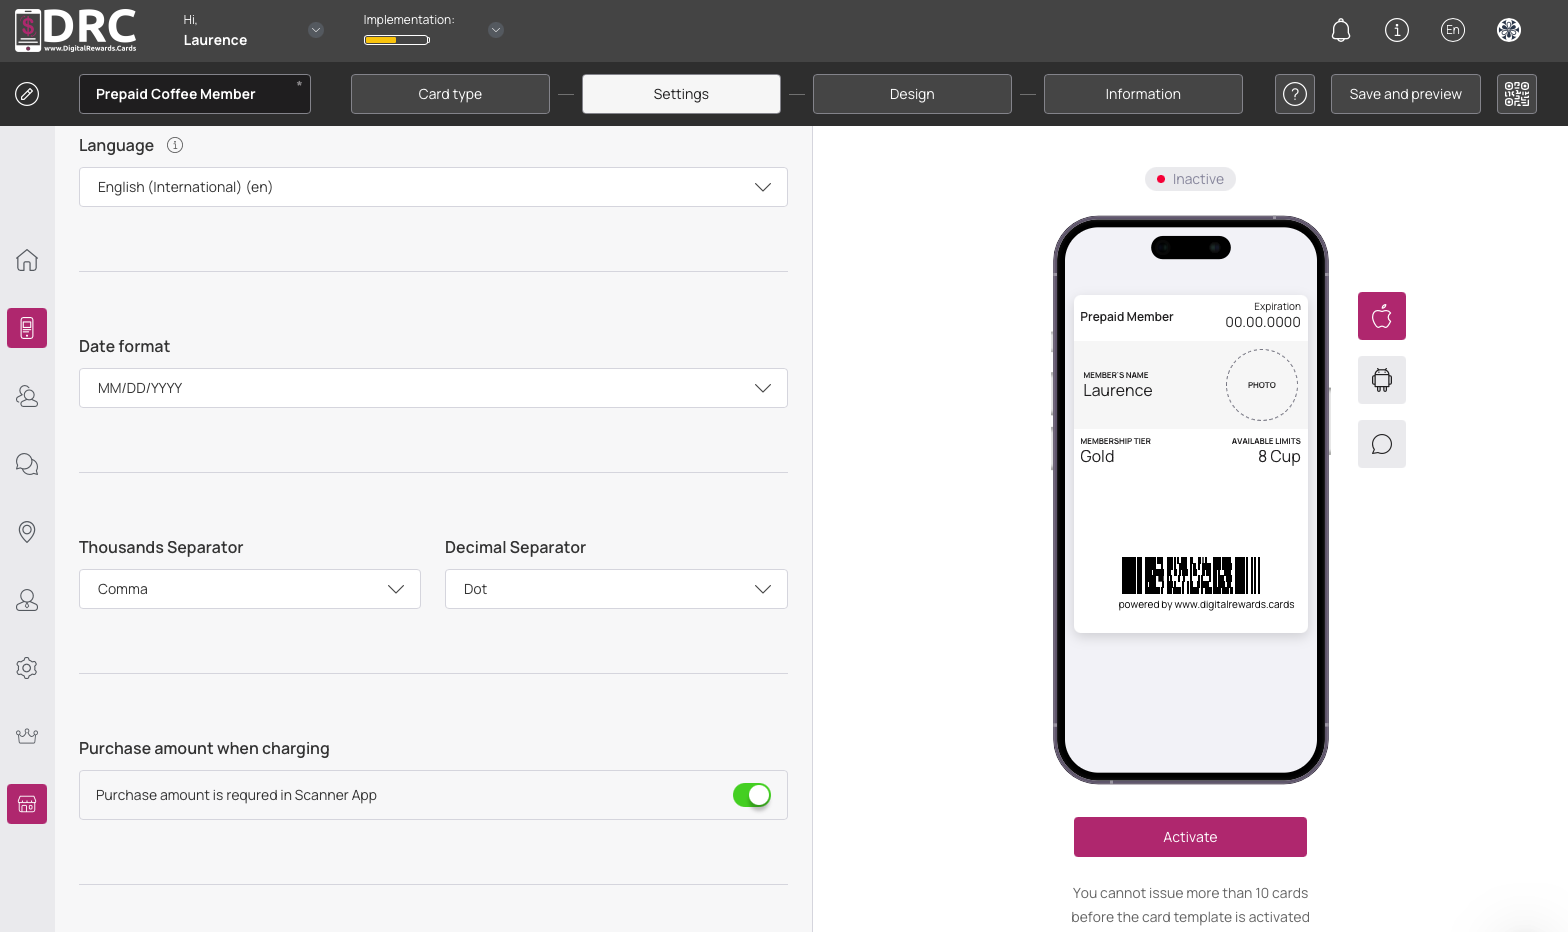
Now you can set the language, date format, and number format for you region. #
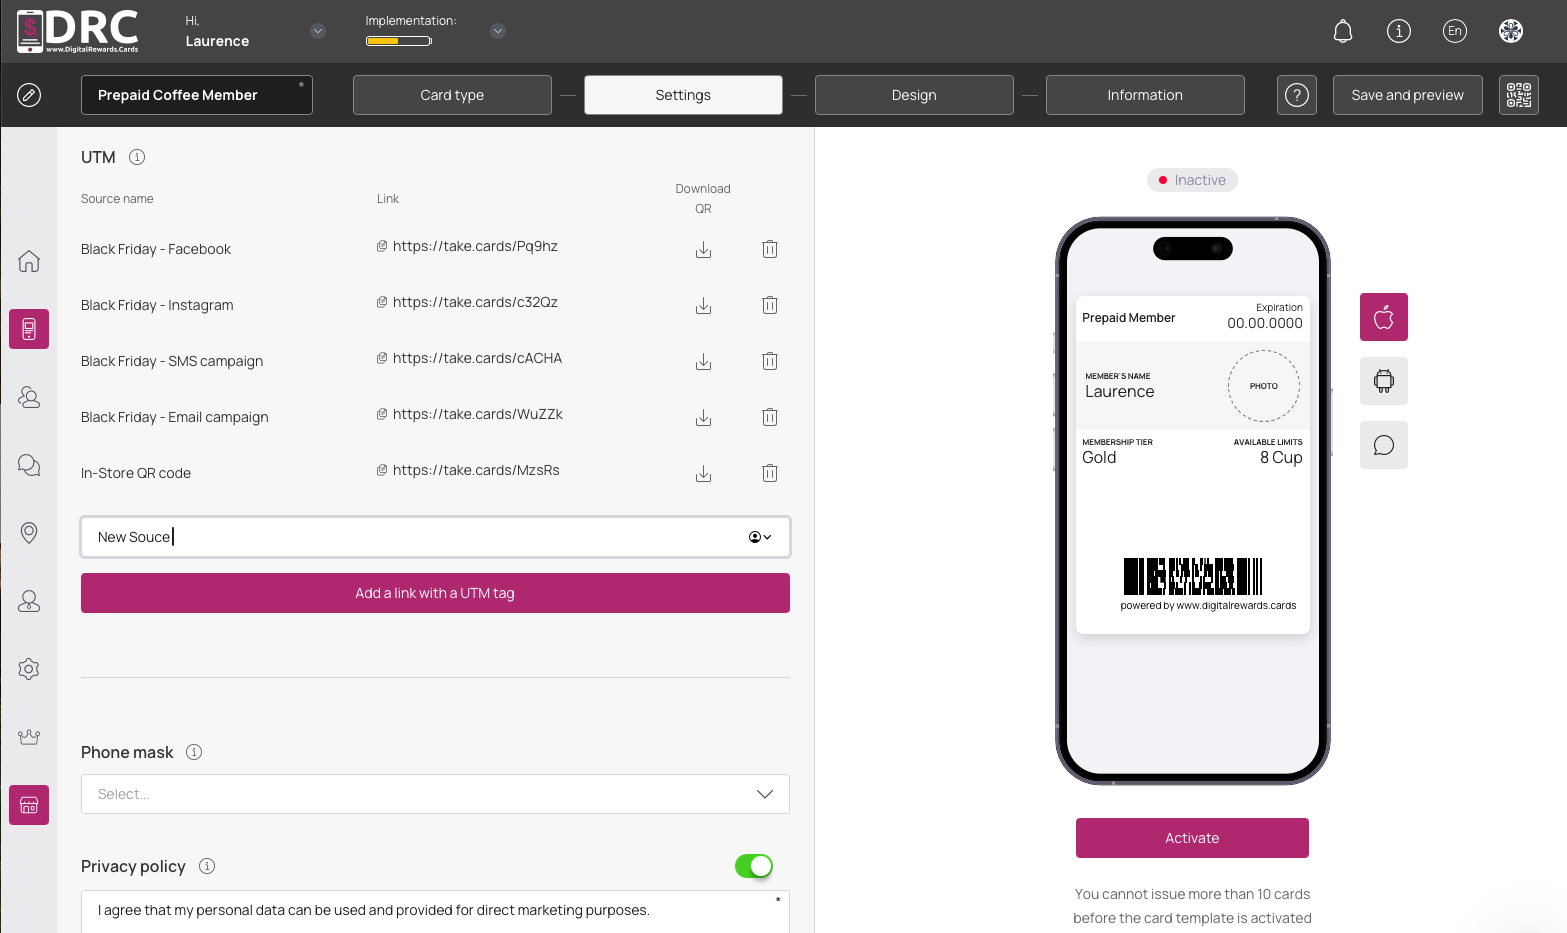
UTM links are useful to track where you customers are coming from. #
You can create unique card install links for locations, marketing campaigns, or anything.
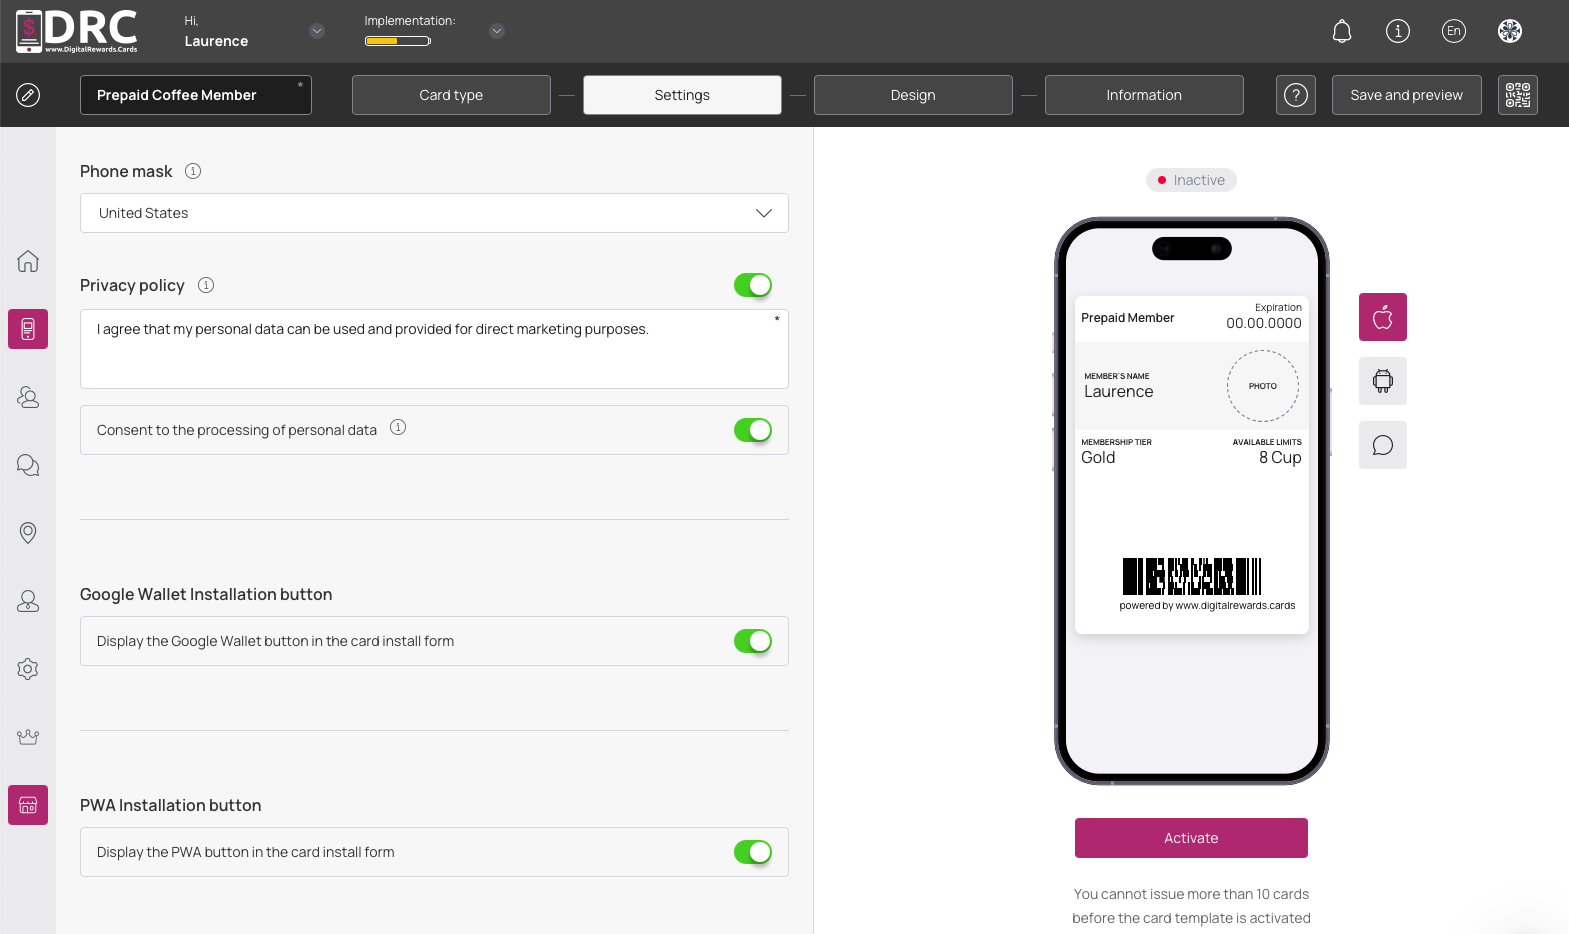
Now you can add your phone mask which set the country code. #
For example, USA is 1. You can also add a short privacy and require consent.
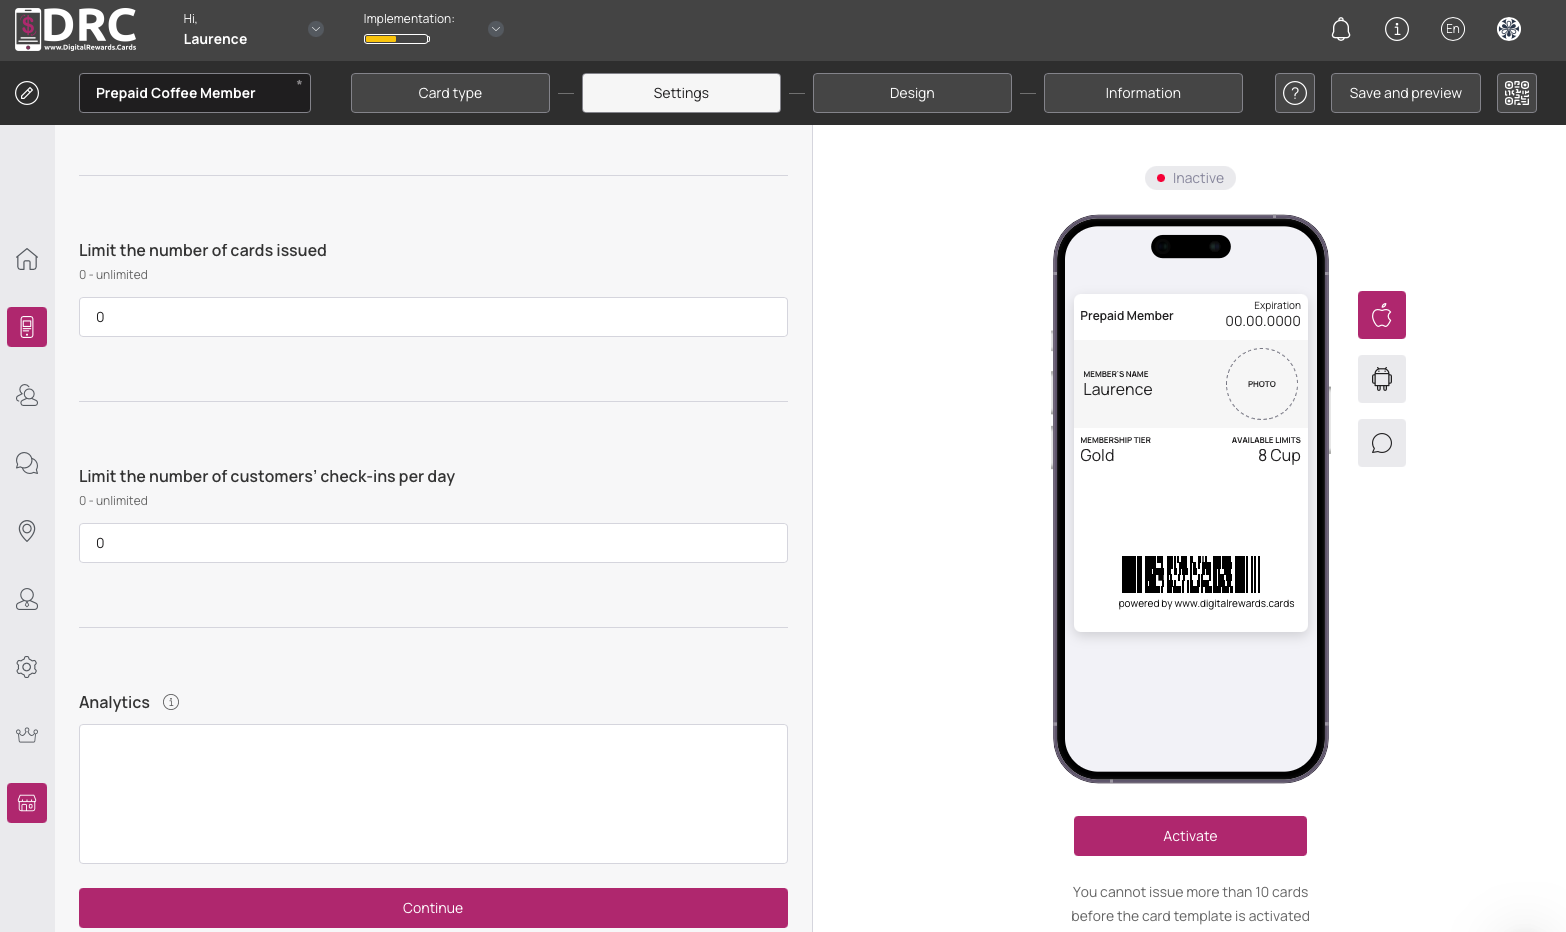
You can limit the total number of cards issued. #
This is useful to limit the number of customers that can be a member. For example, first 100 customers only.
You can limit the number of check-ins per day. #
If you’re limiting to 3 meals per day, set to 3. If you’re limiting to 1 cup of coffee per day, set to 1.
Here you can add your analytics tracking code snippet. #
When you have completed all the steps on this screen, click the Continue button.
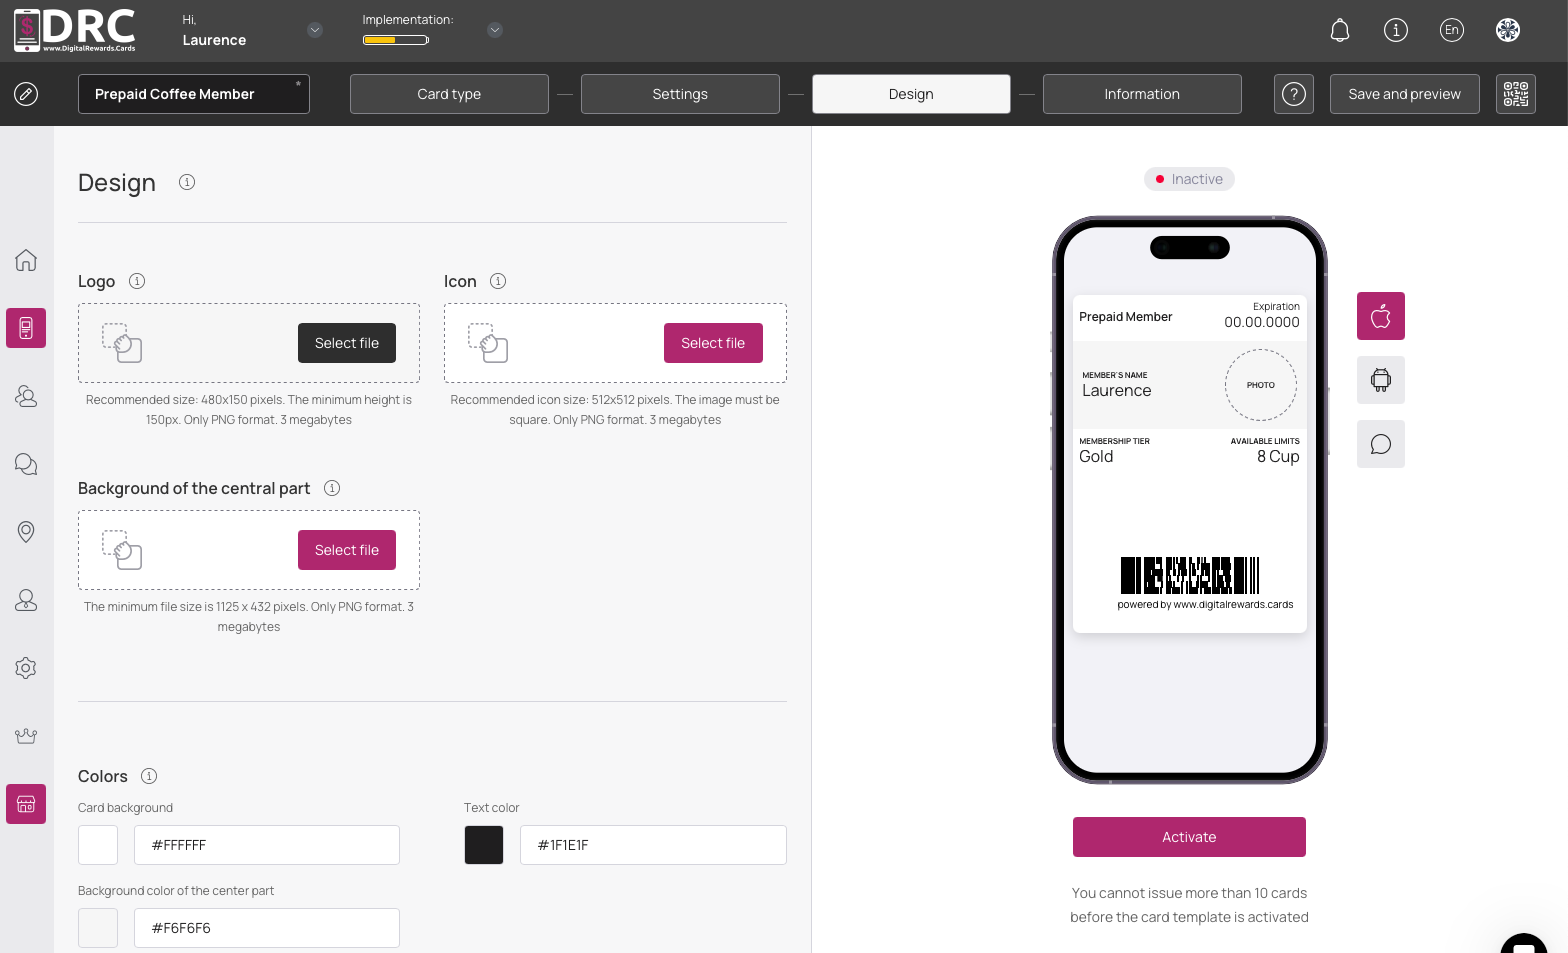
On the Design settings screen, you can customize the card logo and colors #
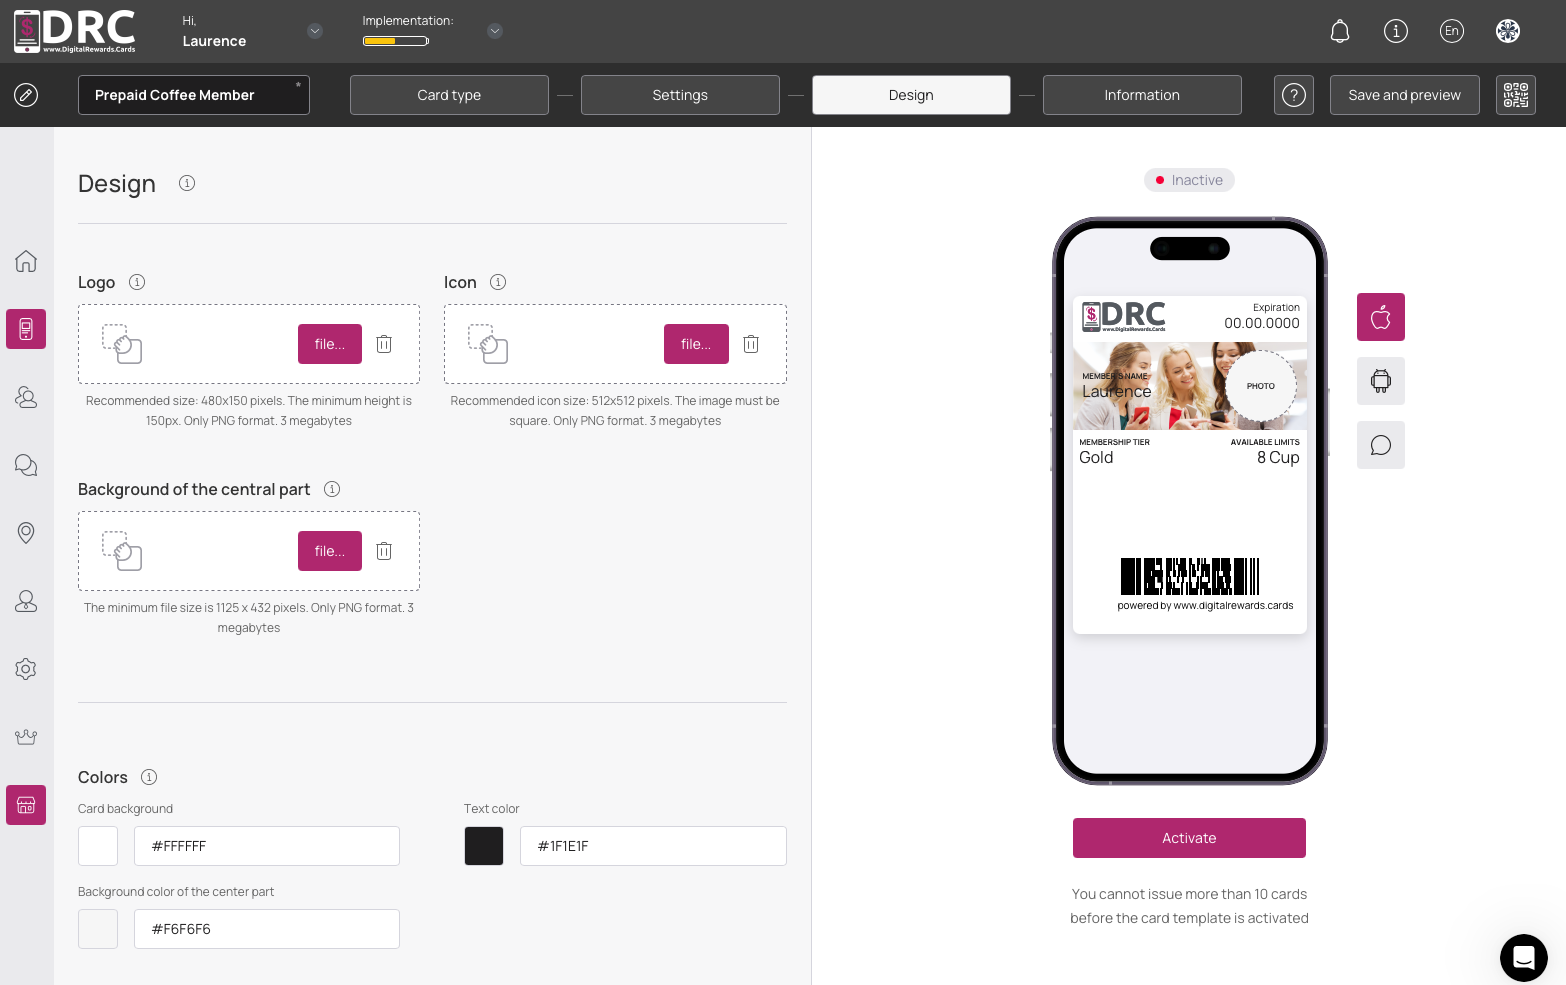
Following the on-screen guides for each setting to get the perfect look. #
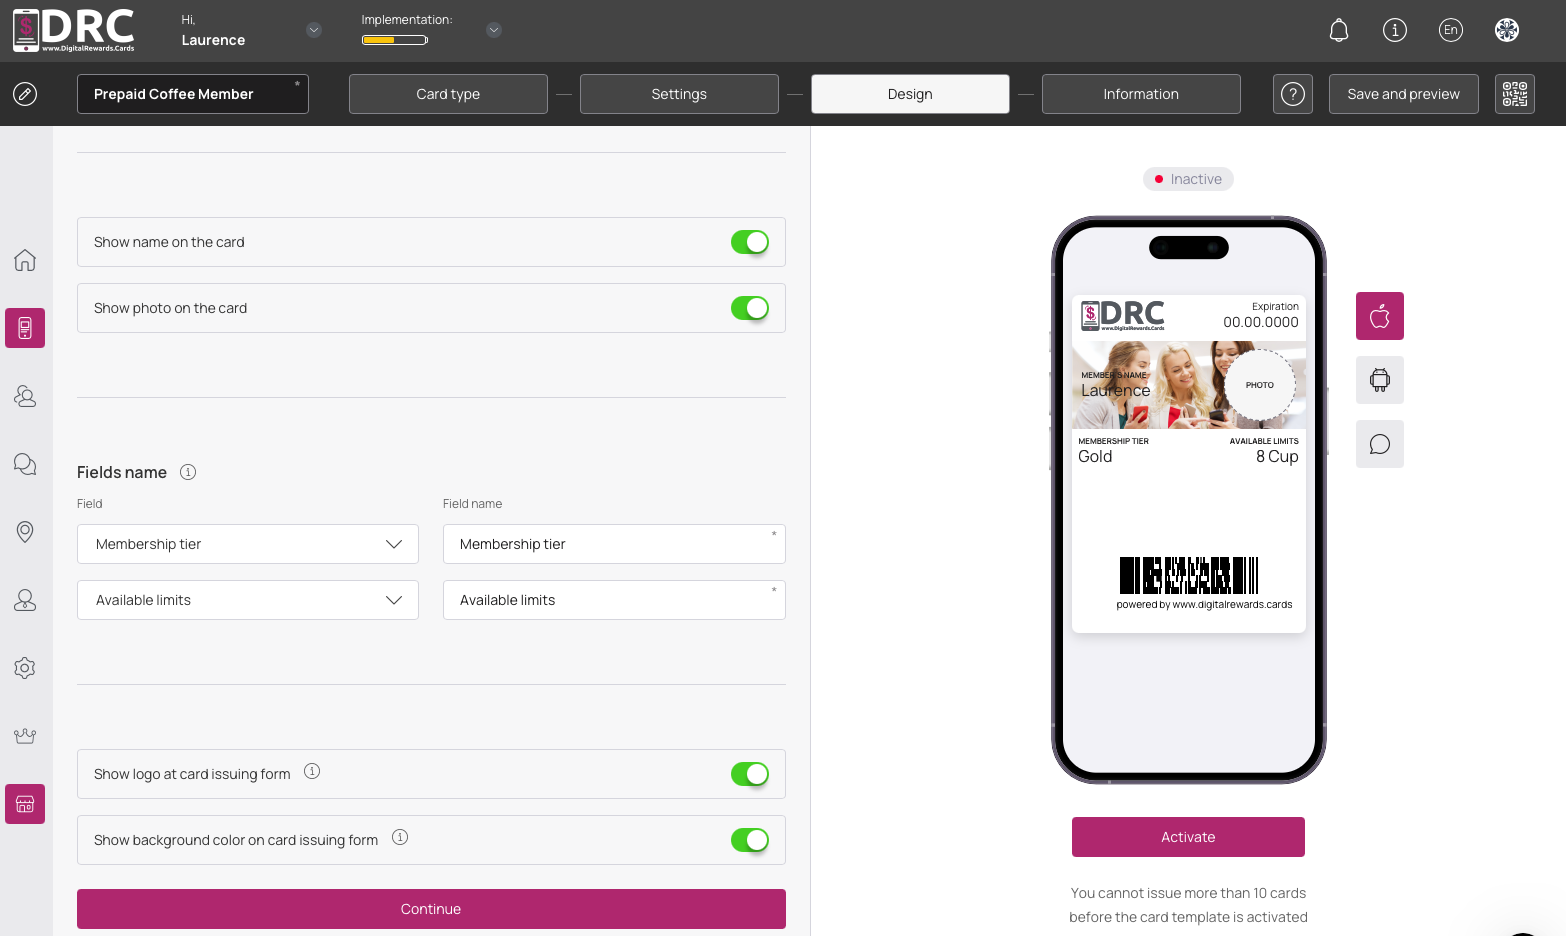
You can choose to display the customer name and photo. #
You can customize the name of the fields that appear on the card. #
You can also set to display the logo and background color on the card issuing form. #
Now take a look at your card as shown of apple devices. #
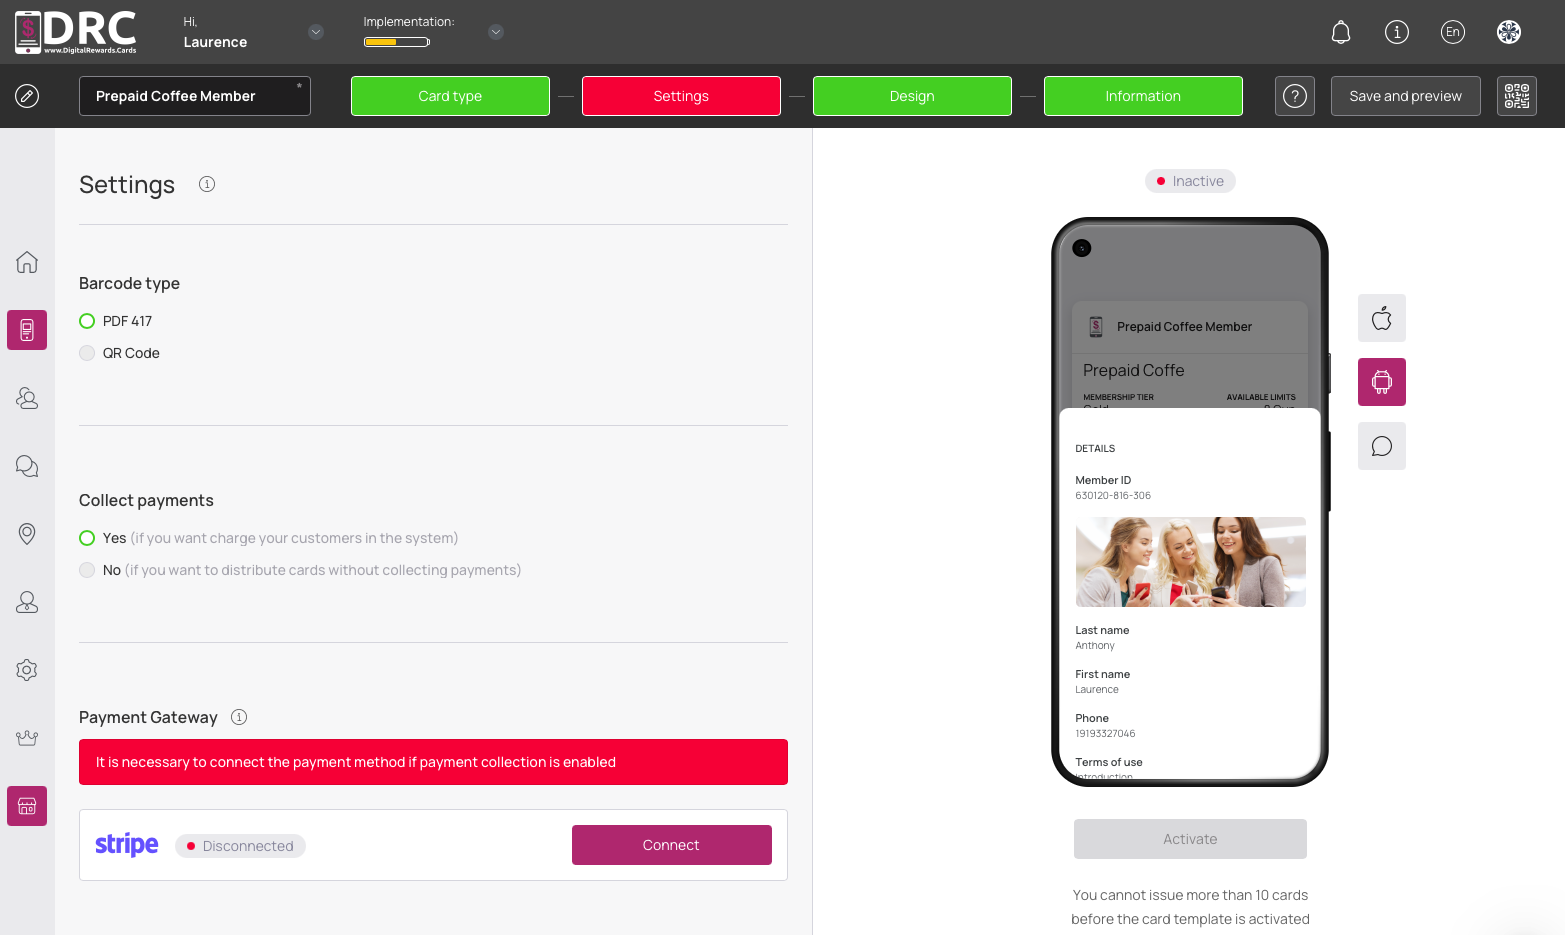
Click the Android icon to view a preview of Android devices. #
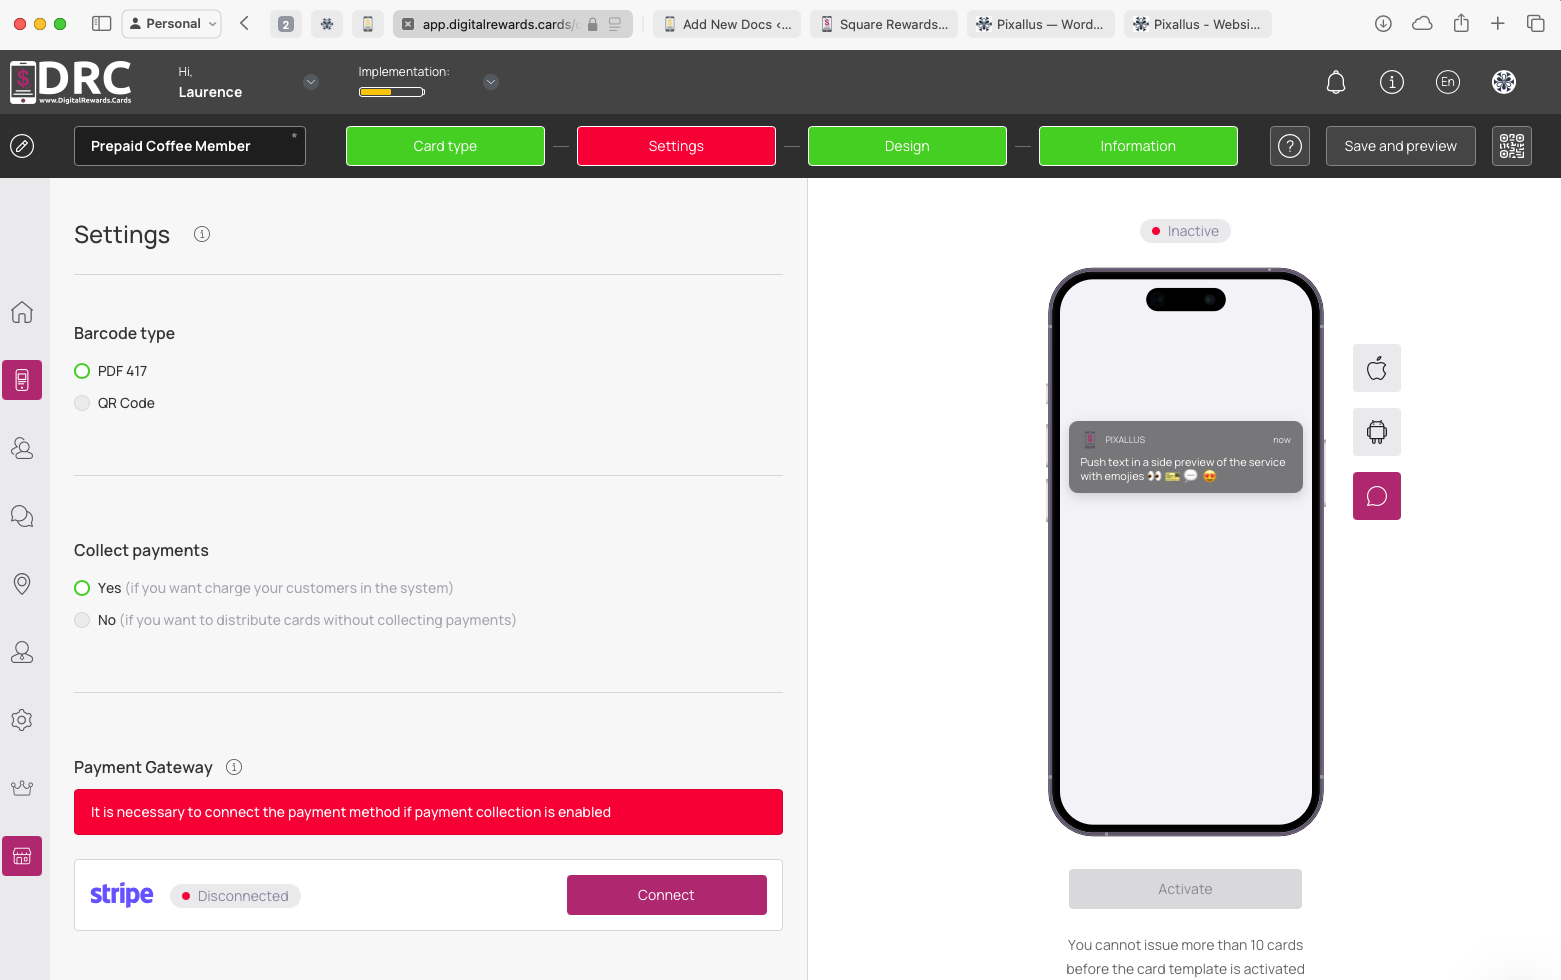
Click the comment icon to preview the push notifications. #
Once you completed all settings on the Design Screen, click the Continue button. #
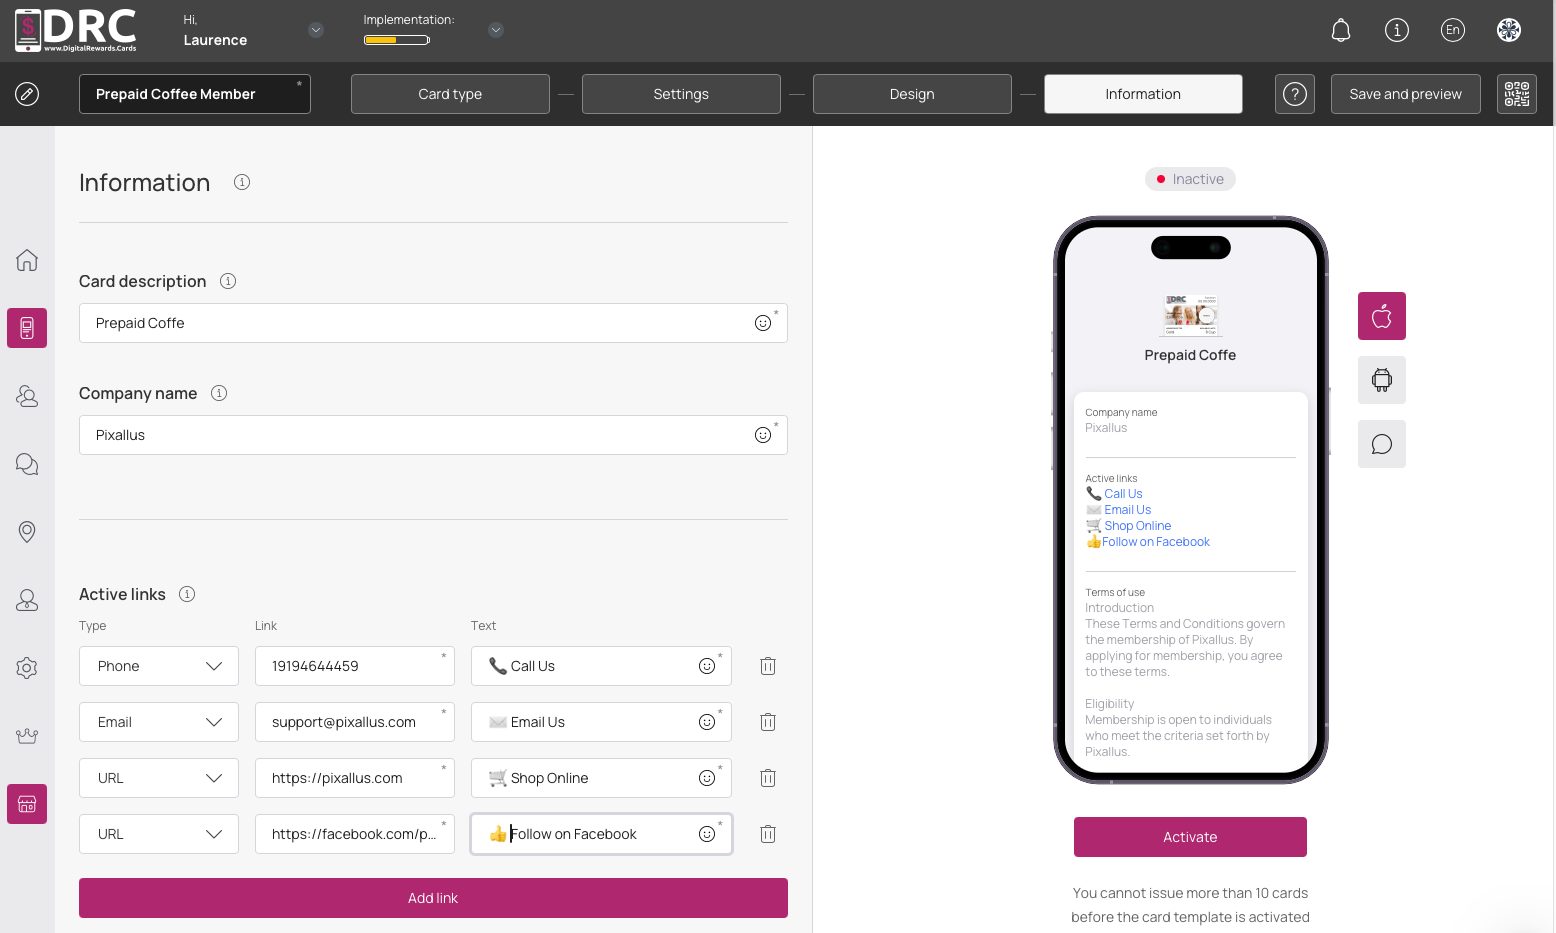
Next, we’ll set the information to display on the back of the card. #
The Card Description is displayed on the top of the back of the card. #
You can use the name of the card as the Card Description.
Add your Company Name. #
To add a new link, click the Add Link button. #
Links you add here, will be displayed on the back of the card. #
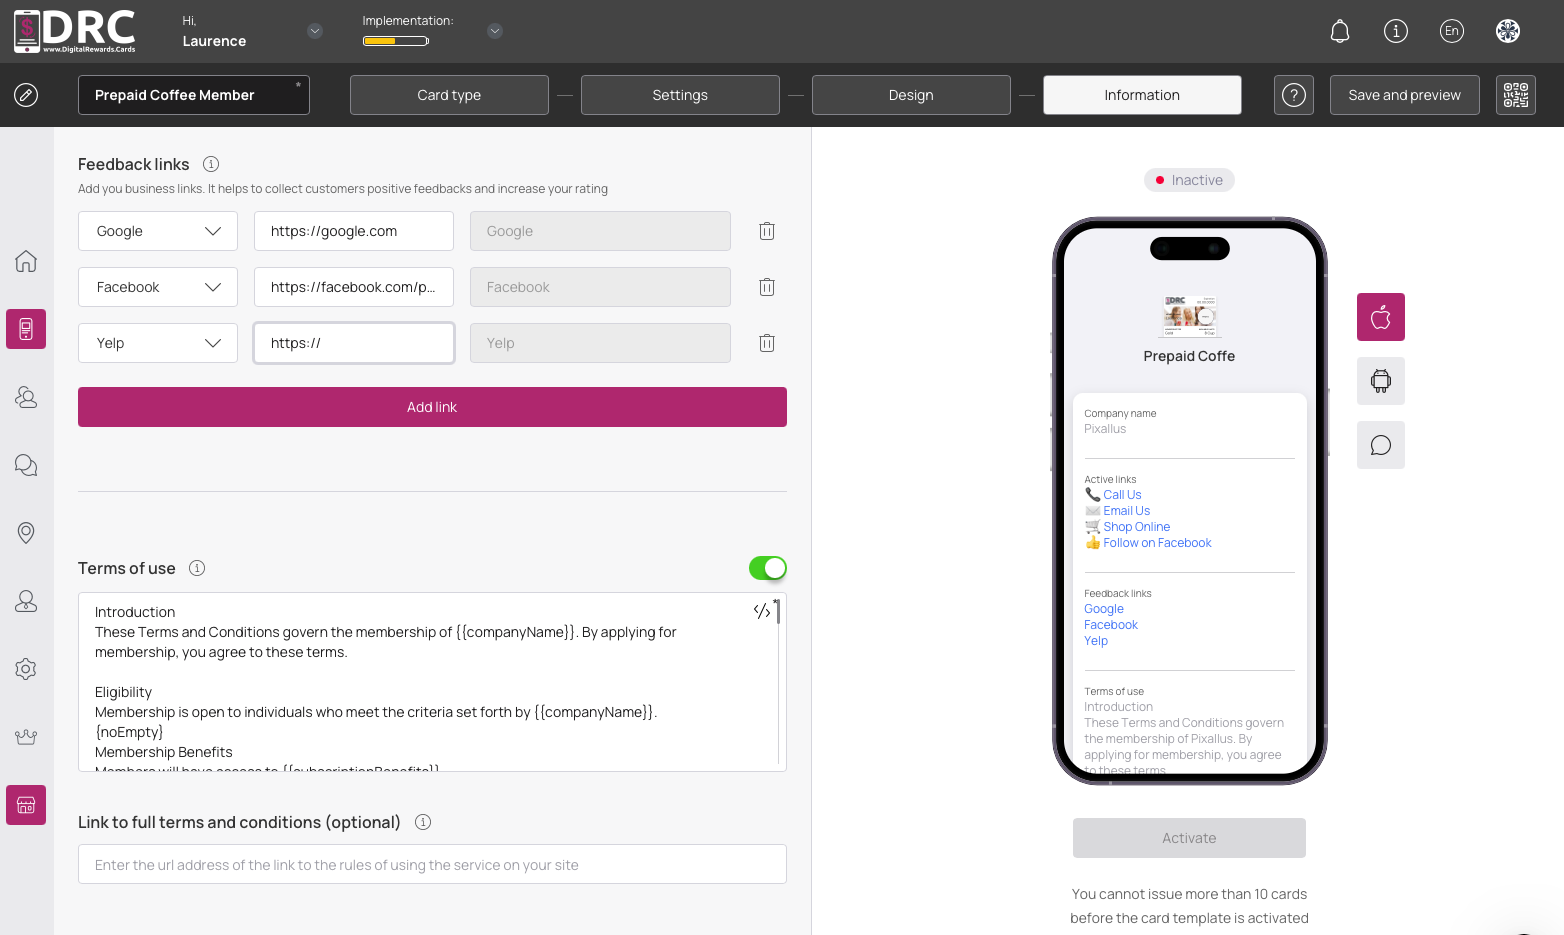
Here you can add links where customers can leave reviews. #
Simply click the Add Link button to add more platforms.
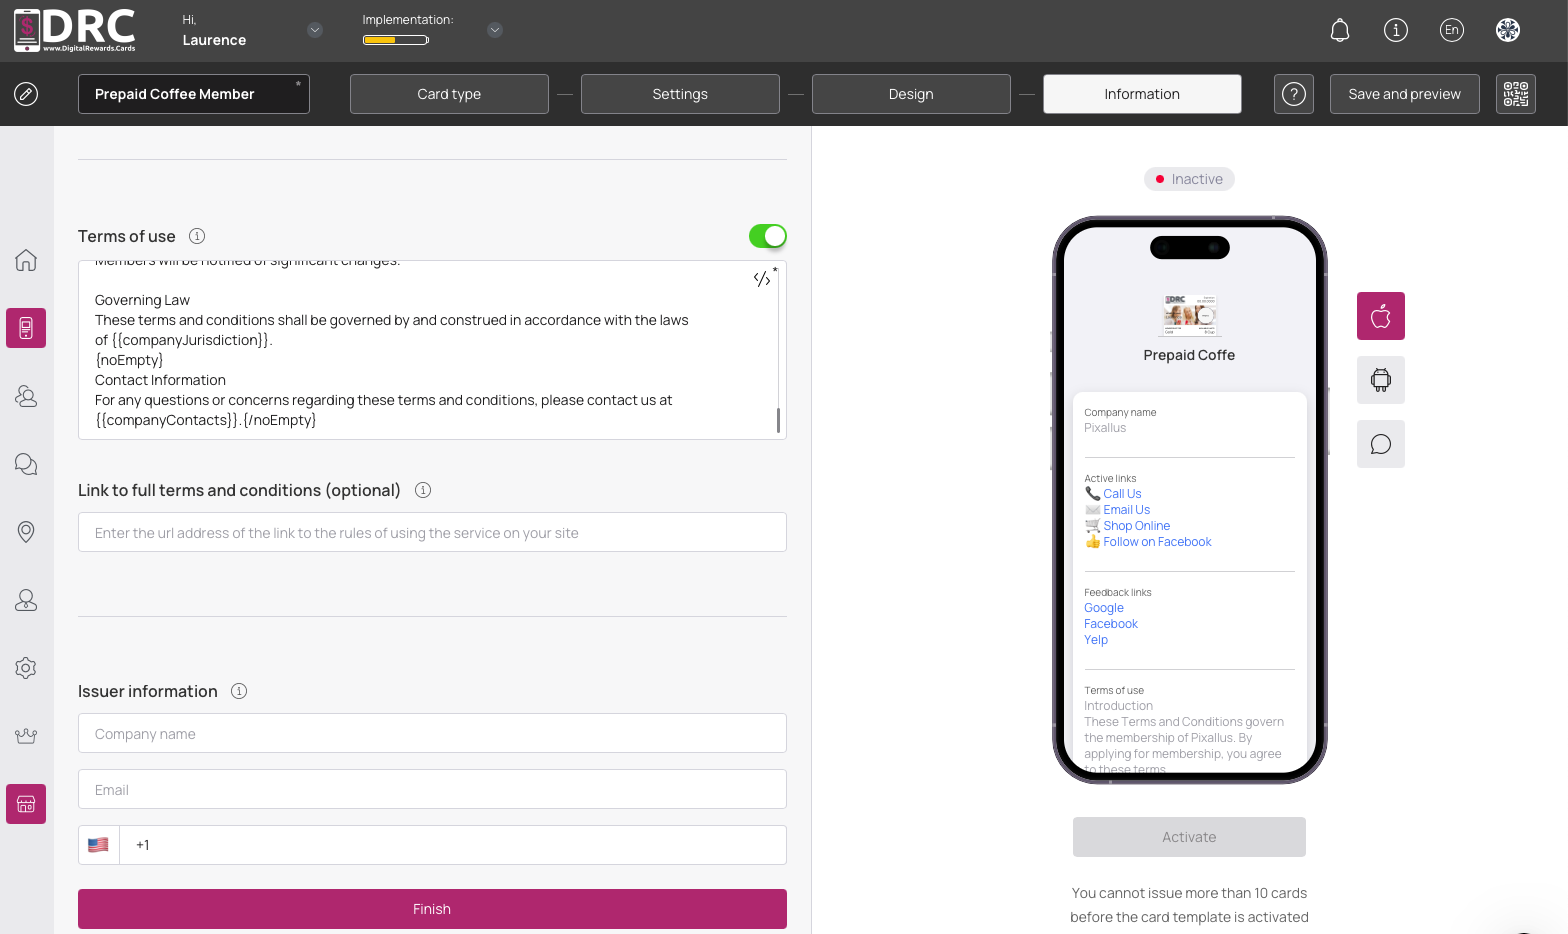
Be sure to add detailed terms of use. #
Do not confuse your customers or allow misunderstandings. Be simple and concise.
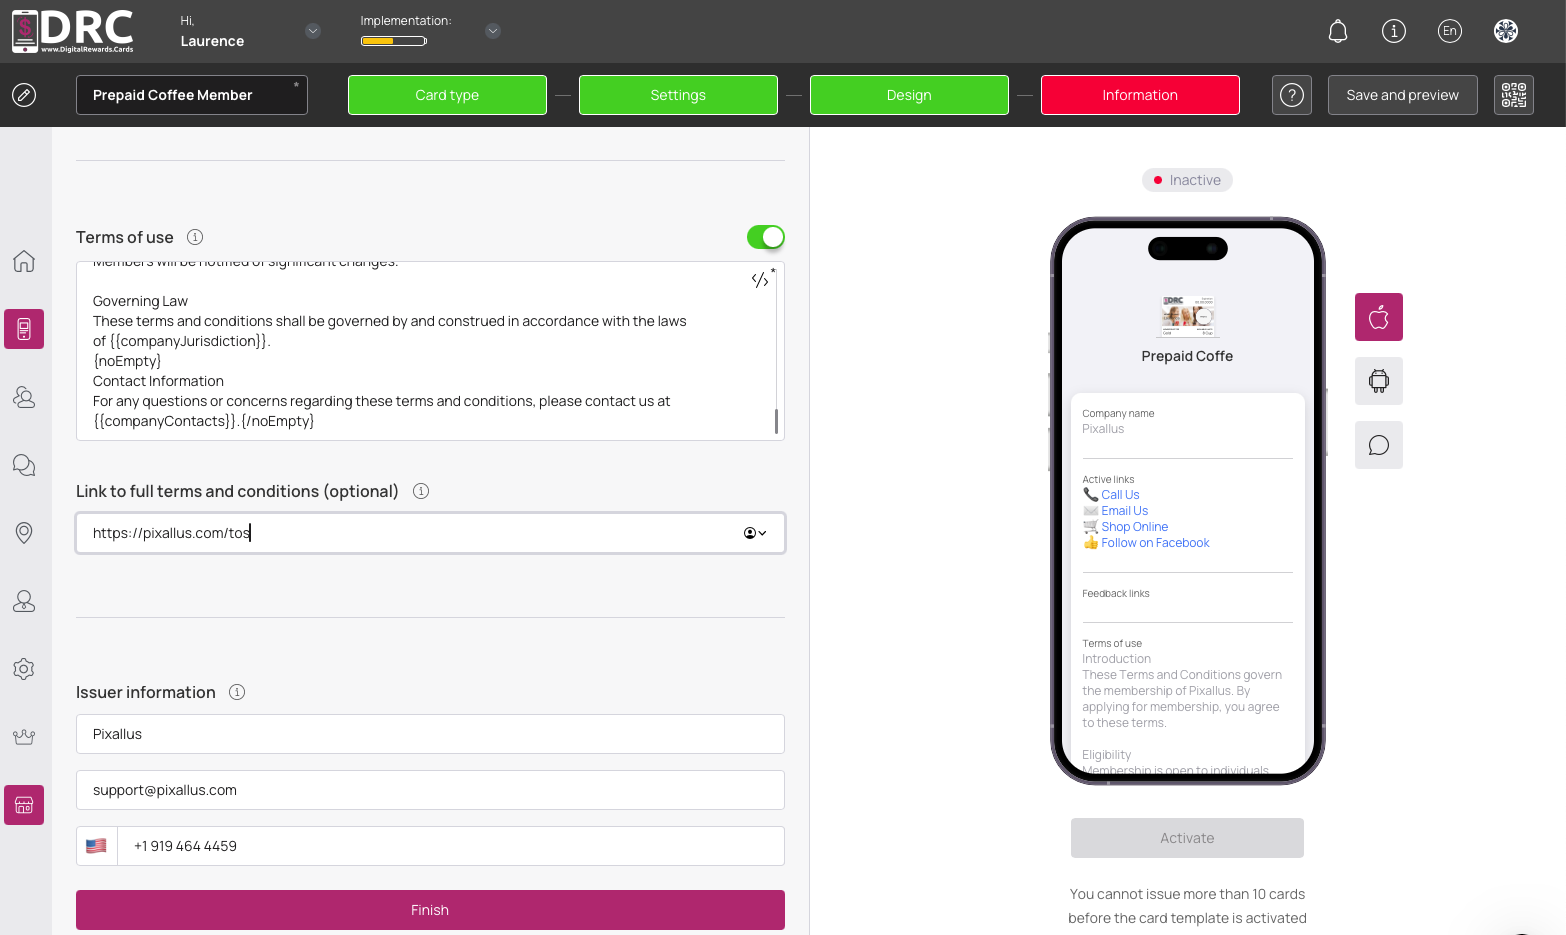
You can also add a link to full terms. #
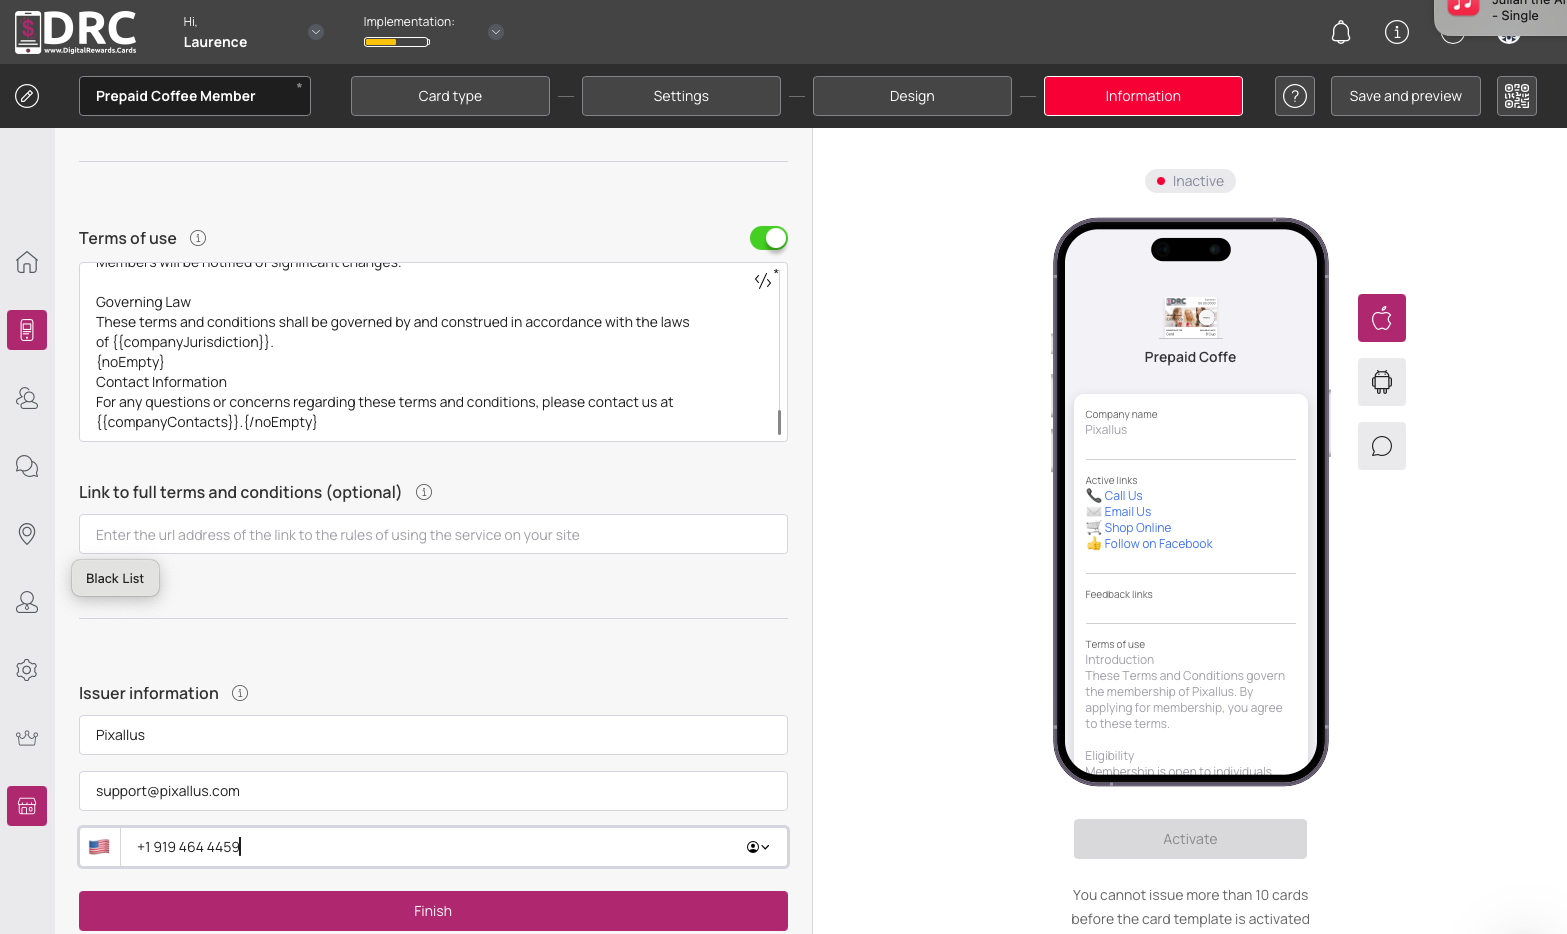
Add your business contact #
information here.
When you’re done #
with all the settings, click the Finish button.
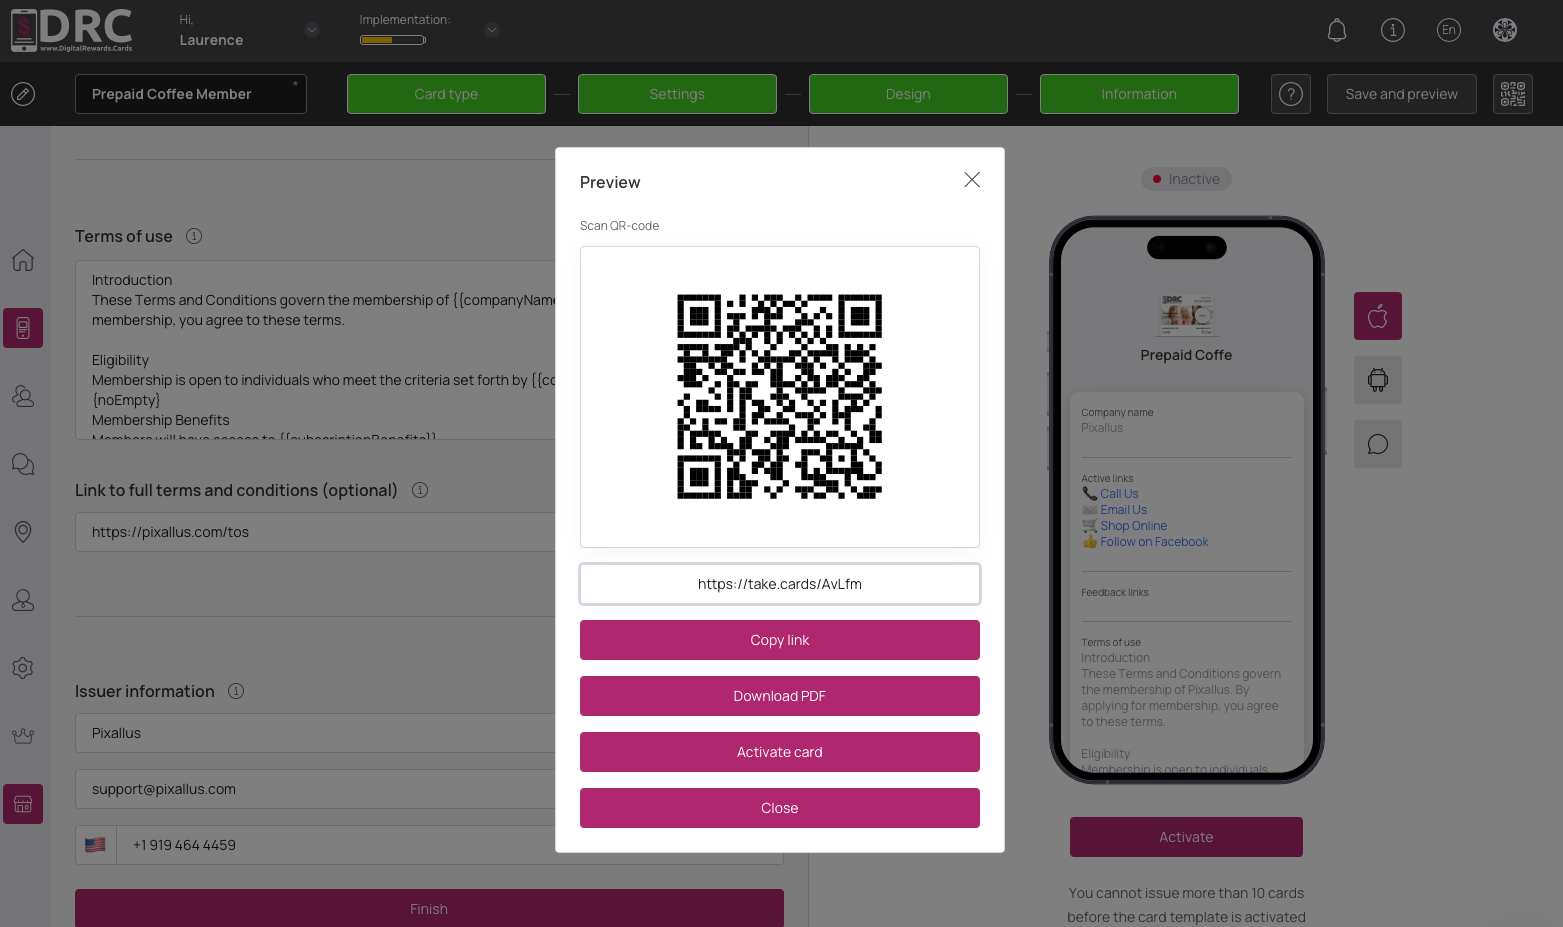
Your card is ready for testing #
Scan the QR or click the link on your phone to install the card on your device.
After previewing the card on your device #
make any necessary changes to the card and save changes. Preview the card again before activating it.
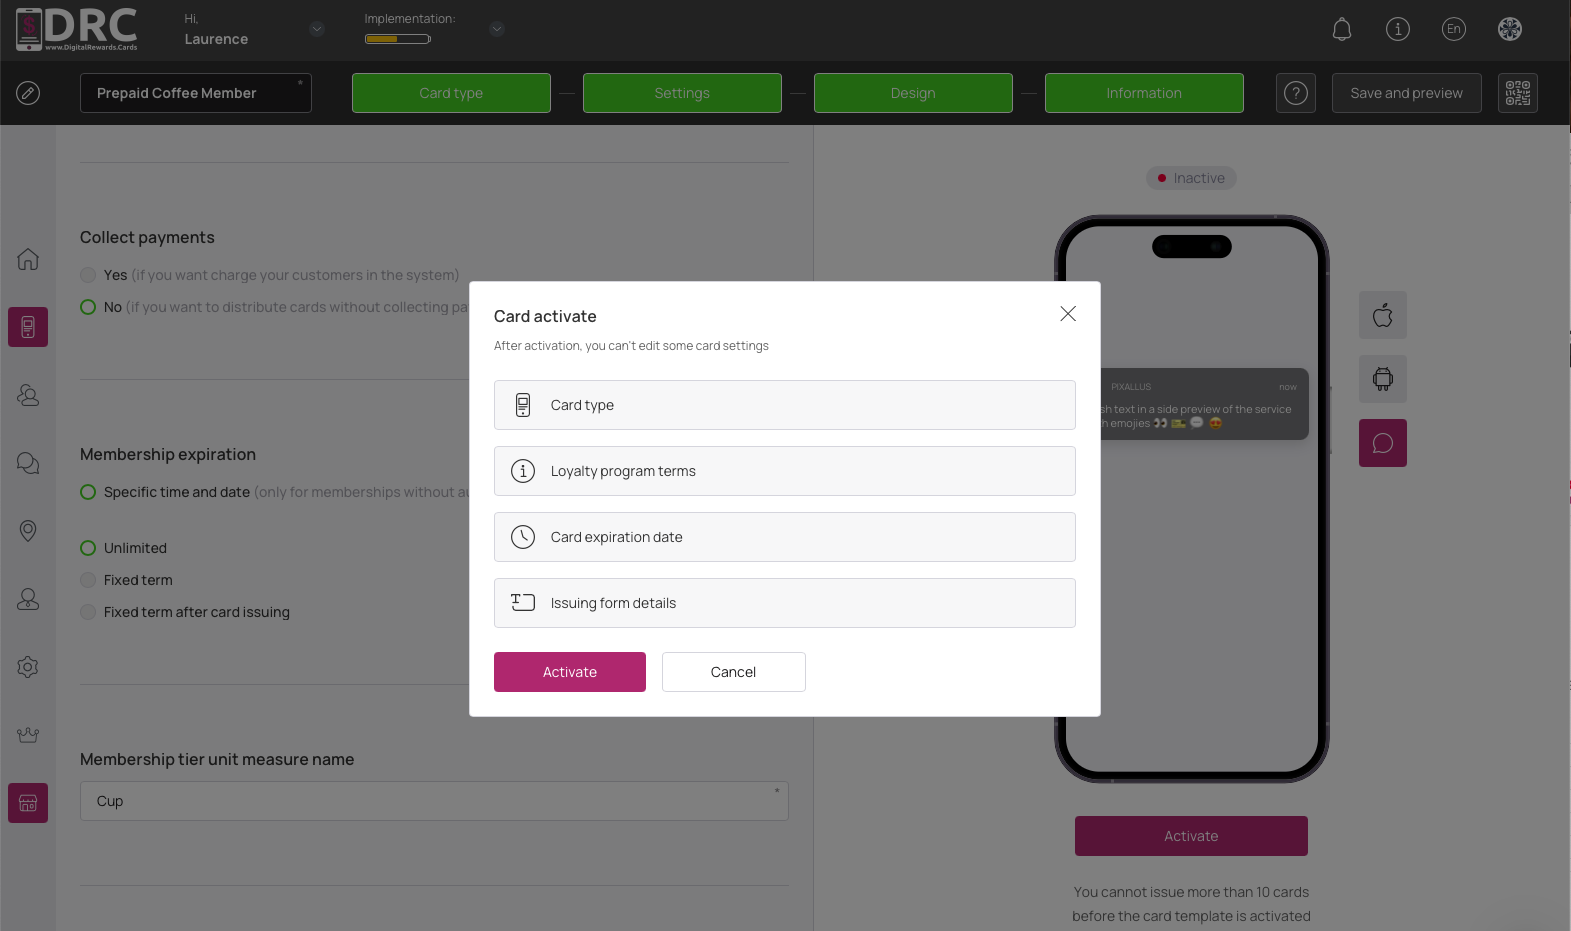
Once card is active #
you cannot change the card type, terms, expiration, or signup form details. If you’re satisfied with your card, click the Activate button.
That’s it! #
You’re ready to distribute your new membership card.